Tuesday, August 18, 2015

Beating Around the Bush

Bushes, hedges, shrubberies...


You just knew these guys were going to show.


Over the years I have grabbed bushes from different places for use in wargaming. 
For this post, I thought I would show the handful of types I have and how they compare.

First up are Christmas bushes I got during one holiday season.  They are inexpensive and still available in various Christmas Village packages, are made of plastic bristle brushes with painted beads of styrofoam attached.  I am not all that fond of them, but they are functional.


Oh Christmas Tree...


The figure next to them is from Blue Moon's gothic horror line, 28mm.  This is a good match for this model and these work nicely with this scale.


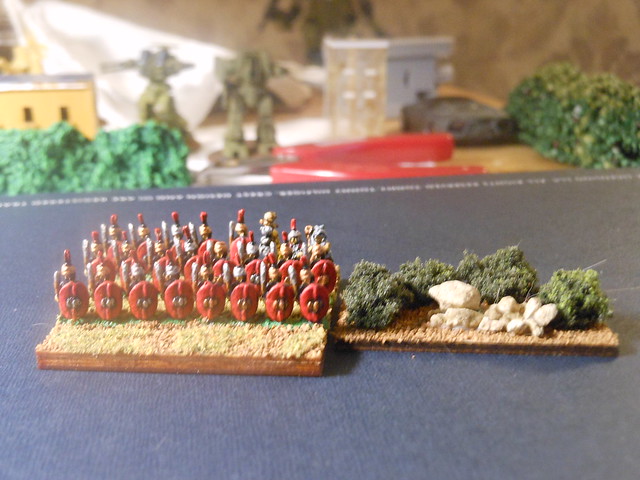
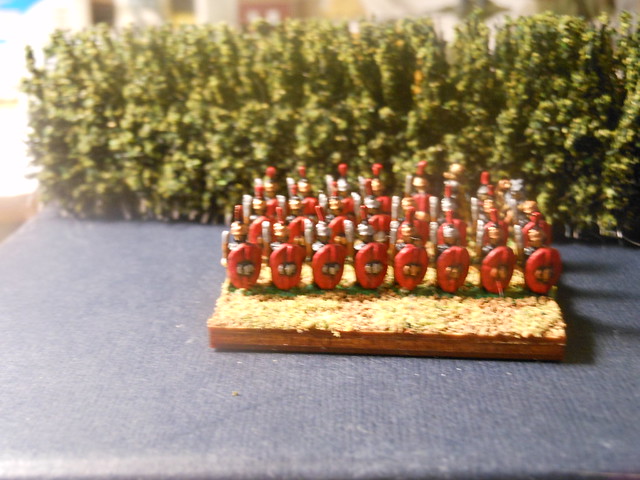
What are you doing behind these bushes?


Here they are with 6mm Romans from Baccus.  Compared to the miniatures, these look like small trees rather than bushes.


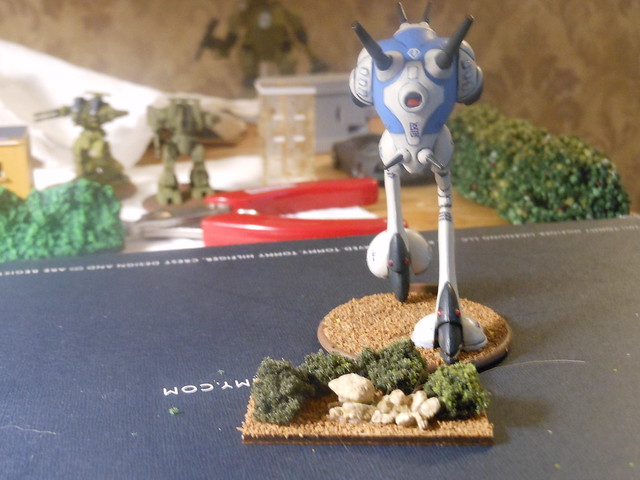
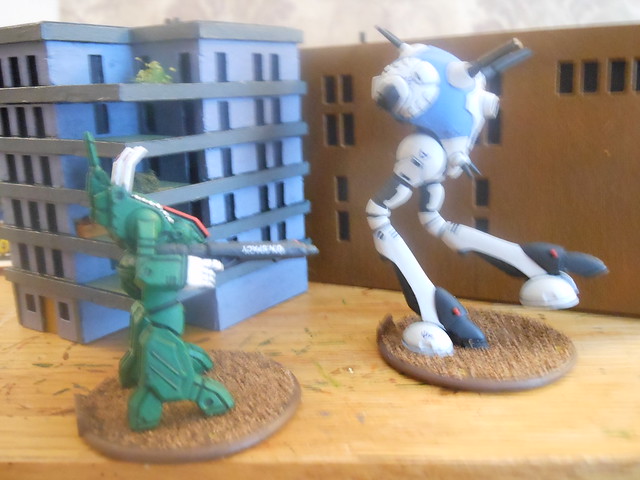
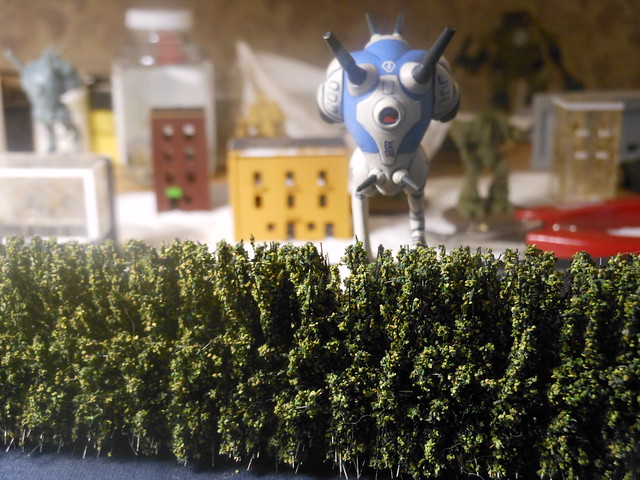
Zentraedi Regult battlepod from Robotech


The next type are hedges that come from Citadel/Games Workshop.  These are also a brush type with flocking material glued on.  These came as part of a tree set and I am not sure if they are still available for sale.


The bristles show through the flocking which ruins the effect.


Your mother wants to know where you've been.


Again, these work well with larger scale/size miniatures, but perhaps not so well with smaller ones.


Tall hedges.


The next ones are from Gale Force Nine, they are sold as hedgerows and are made of cast resin that has been painted.  They perhaps have a less 'realistic' look to them but they are sturdier than the brush kind and don't shed flocking material when handled.
They are sold as appropriate for 10-15mm miniatures, but they are mostly scale neutral.

(I neglected to take a picture of them without any miniatures standing nearby.)


Out drinking again, eh?


On the taller end for bushes/hedges with 6mm, but make good looking overgrown bushes or small trees.  Messy, much like my yard.


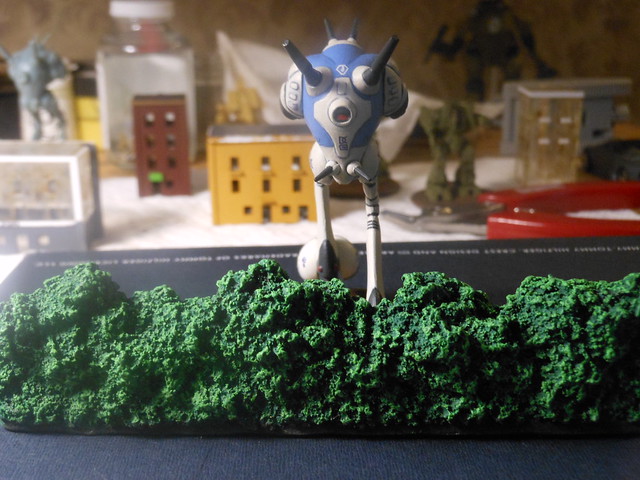
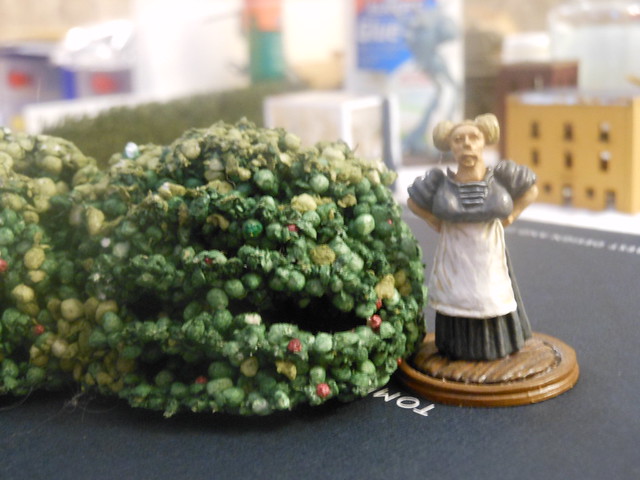
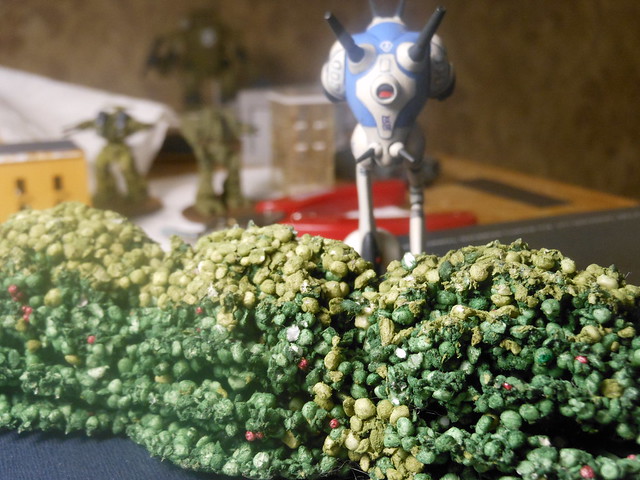
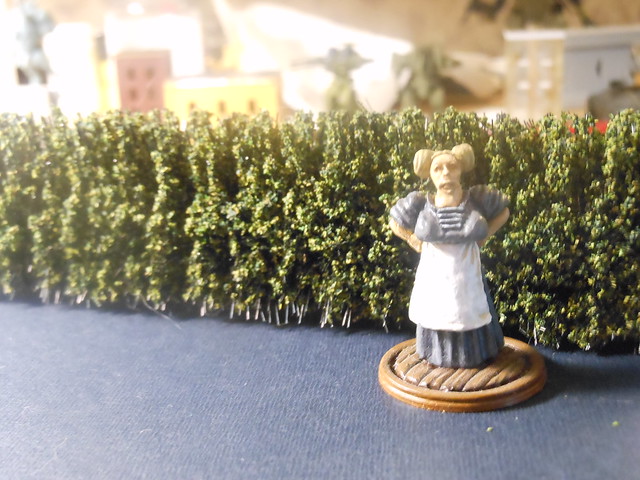
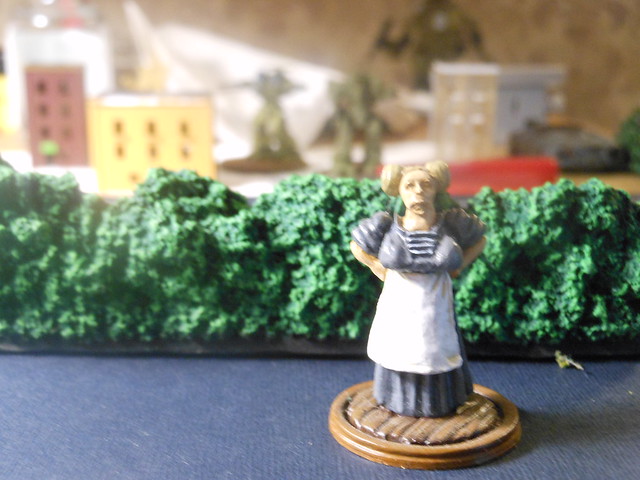
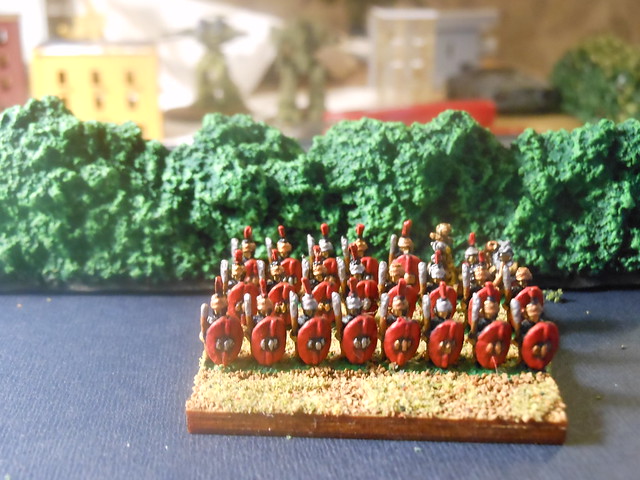
The following hedges are sold as HO scale railroading terrain.  They are of the plastic scrubbing pad type, cut in strips and with flocking material glued on.


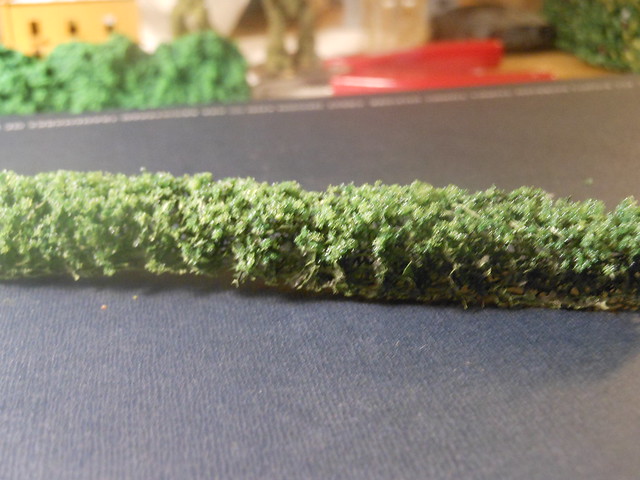
Scrub a dub-dub, a hedge not to rub.


HO scale is 1/87, which is roughly three times larger than 6mm miniatures.


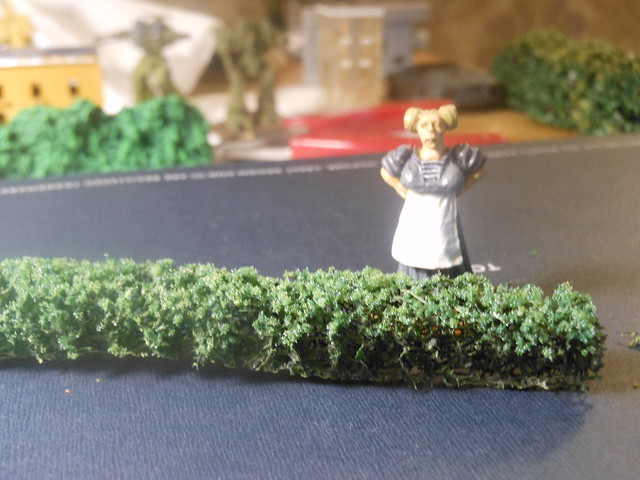
She will never approve of you.


They work as low hedges/bushes in 28mm, for some lovely landscaping.


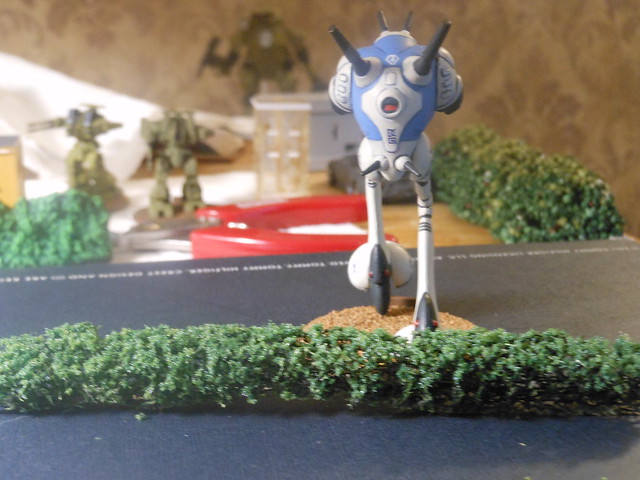
A good height for 6mm.


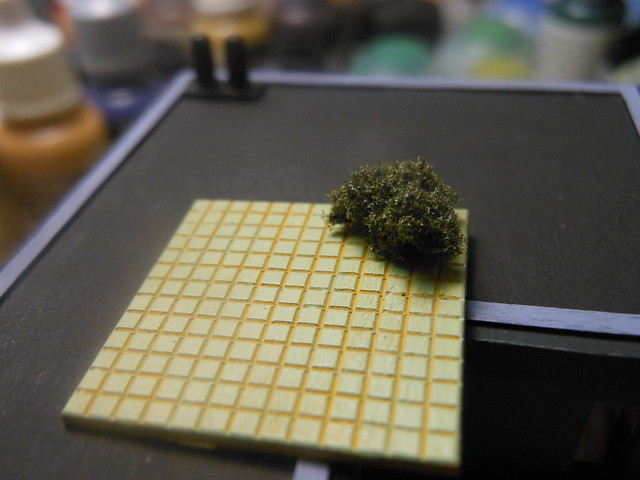
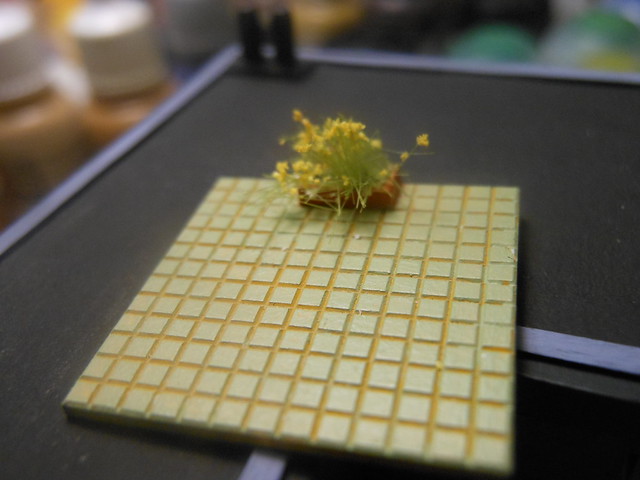
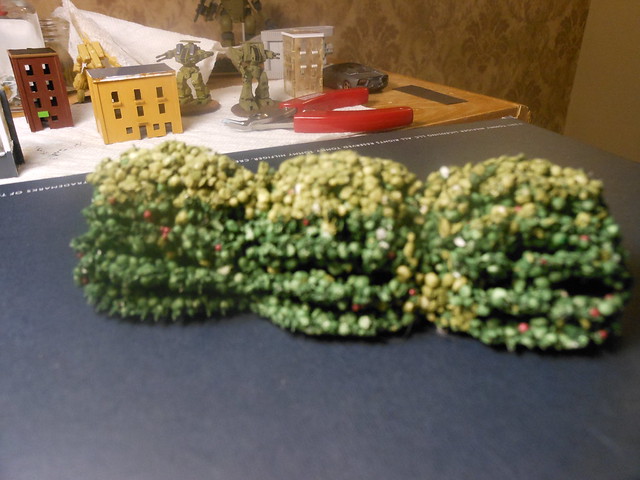
Lastly, some shrubs that I put together while watching television.  I had several 20x40mm Litko bases that I wasn't planning on using and  came up with this purpose for them. 
I glued rocks and sand to them, then on top of that some flocking grass and clump foliage from railroad modeling.  I made at least twenty of these, some with rocks, some with flowers, some just  plain.


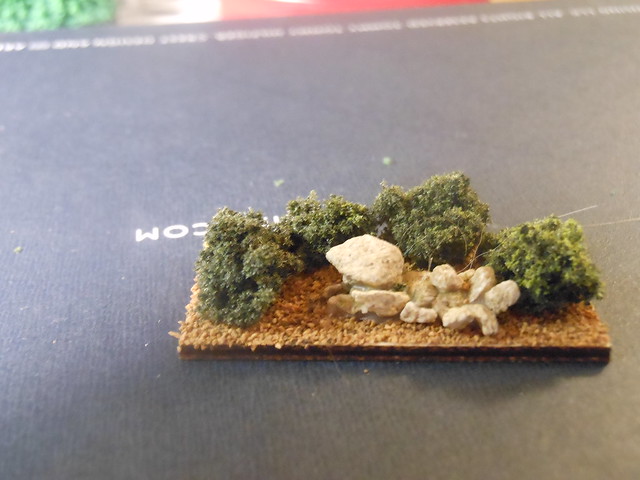
These have a more natural look that the others lack, but are also the kind to be less likely to be found in well maintained grounds or yards.

Aren't you gonna do something about these weeds?


Monday, August 3, 2015

A Housing Project

Going back to my trio of Burn In Designs brownstone buildings (the first one was finished and you can view this brief post about it).  For the next building I wanted to jazz it up a bit.


After I filled the cracks and added a styrene rod chimney, I got to painting it to look pretty much like the other one:


Reused photo from previous post.

This is acceptable looking - buildings are not necessarily going to be exciting.
I got to thinking about how to add something to it, though.  Graffiti seems like an option to explore, as well as wall murals or advertisements.


On one side of the building I added 'painted over' graffiti (when they put blocks of paint over graffiti) as well as more 'fresh' stuff.  I used some old WWII German vehicle decals to use as the graffiti.


Better than I could do freehand...


Looks good enough, but due to the roughness of the surface of the building (it is sort of like plywood), the fact that they are decals is pretty obvious, especially if the angle you look at them is right.


This is after being coated in matt sealant.

On the other side I wanted to do something different.  Frequently, advertisements are directly painted/pasted onto the sides of buildings rather than on billboards.  I printed up a poster in an appropriate size, cut it out and glued it onto the building.


A timeless message...


Overall, it adds some character to an otherwise boring looking building.


Previously I posted about a few resin buildings I got from GameCraft.  The next building I tackled was one of these, a five story building with a restaurant on the ground floor.


Attempt to green stuff the bubbles in the back.

Front of the building.

Unlike the first resin building from GameCraft that I completed, this one has detail on four of the six sides of the building and it is nicely done (the previous building had nice detail, but only on the front side of the structure).

This was fun to paint and came out pretty nice looking.


Hazy photograph, one day I'll learn how to take a good picture.


Although I added Milliput to the back of the building to fill bubbles, it didn't work as well as I wanted.  The detailed sides of the building were perfect, but the back was heavily pitted.  Not such a big deal, I can live with it, but I decided to see if I could cover it up with an advertisement, like I did with the brownstone example above.

This time I printed up a more relevant Robotech/Macross poster.


Bubbles still obvious, but mostly covered up.  Most of the time, this side of the building won't be seen.


Lastly, I finished up another GameCraft acrylic house.  This one is taller than the ones that I have done so far.


That's all for now!

Sunday, July 26, 2015

In the Lap of Luxury

Three new buildings to add to the collection of completed terrain.

These two are a couple of more acrylic houses that I got from GameCraft.

You may remember this picture from when I posted details about how I was modifying the acrylic buildings.


I finally got around to painting them up.

Here they are without the added oak tag paper on the interior.

Empty shells.

In this next picture, the oak tag was glued on the insides and the doors painted.  I think it makes a big difference in how they appear.


Much better looking.


The next building I finished is also from GameCraft.  This one is made out of matboard.  It was a lot of fun to assemble as it was more than just five parts.
The pieces were easy to glue together with just white glue.  I applied Milliput to try to hide the seams.


Looks a little gunky with the green stuff applied.

I especially like the terraces.  These are obviously apartments for the "more comfortable" residents of the city.


As it is, it is a good looking building, but I wanted to add some pizzazz.

The roof, in particular, needed something more to make it look cleaner.  Otherwise, the layered parts would show more obviously.  Also, the corners of the first floor where the doors were needed something a bit more.

Styrene strips have become my standard building enhancer.

Digging around my spare parts tub, I found a couple of heavy missiles from the Phalanx sprue that would serve as chimneys.


I also figured that those terraces could use a little more detail and cut out some fitting tiled plasticard pieces to add to them.

Looking more interesting.

I didn't glue those on, figuring it would be easier to paint the building and the tiles separately, then glue them together later.

Under layer  of paint applied.  The planters are a spare matboard part from this building and a leftover mdf brick from one of the Burn In Designs buildings I have.


I dry brushed the tiles, so that the tan in the recessed lines gives the illusion of grout.


The next step was to add foliage.  I used various terrain supplies I have laying about.


The building painted up nicely and the terraces look good (although one of my friends still thinks they look a little bare).  As usual with these buildings, dark paper was glued to the interior of the building.


Shaky camera during combat:


Look behind you!