So much of Robotech takes place in or around cities, so it is no wonder that many of the people who have picked up Robotech RPG Tactics have taken an interest in city terrain.
 |
| Not to mention it makes for interesting layouts and the "cool factor". |
There are several manufacturers of suitable terrain and I plan on ordering from many of them.
The first company that I ordered buildings from is GameCraft Miniatures (link can be found on the right). GameCraft has a reputation for quality. I didn't own any of their products prior to ordering, but I do have a friend that uses some of the 28mm buildings from the company and think they are good, so I knew that I wasn't just blindly ordering with no idea what I would end up with.
GameCraft offers buildings in a few different materials, including resin, matboard and acrylic. I ordered a sample of buildings in each of these to see what they are like.
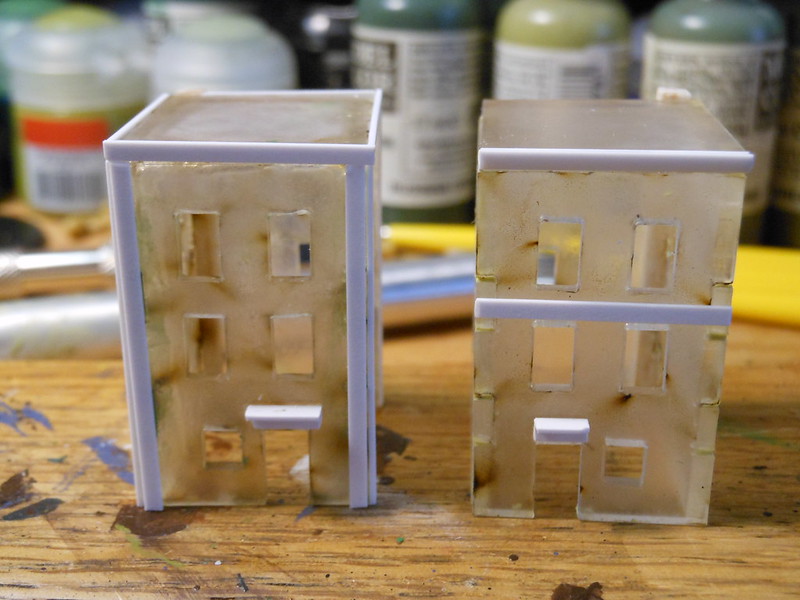
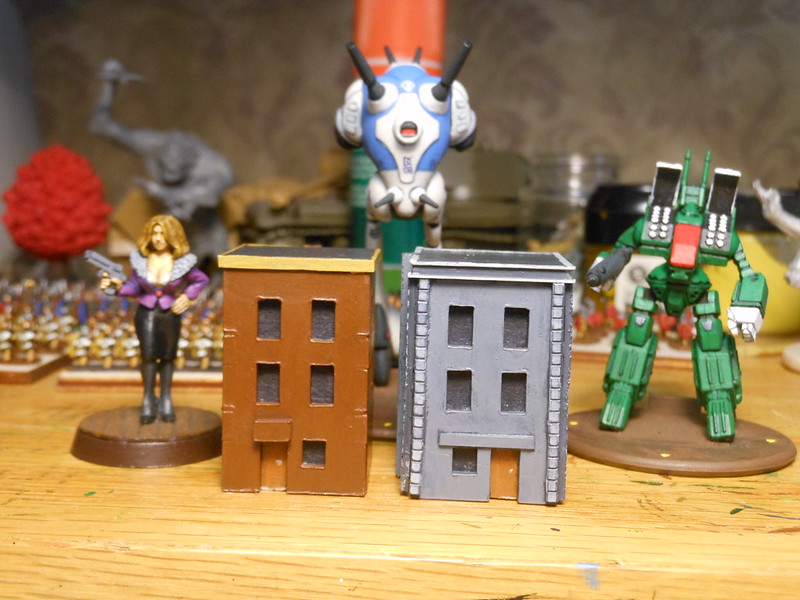
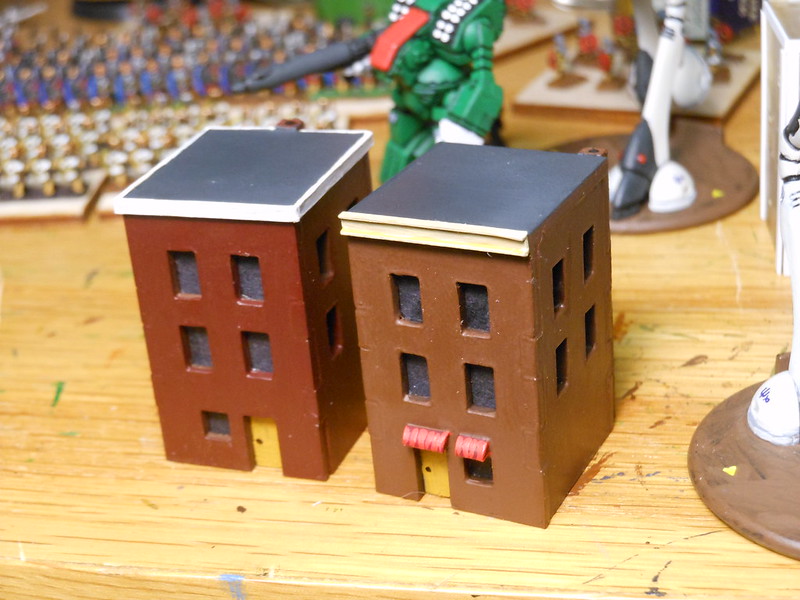
I ordered the Small Downtown Flats, a set of 14 buildings for the low price of $16.50. A good deal.
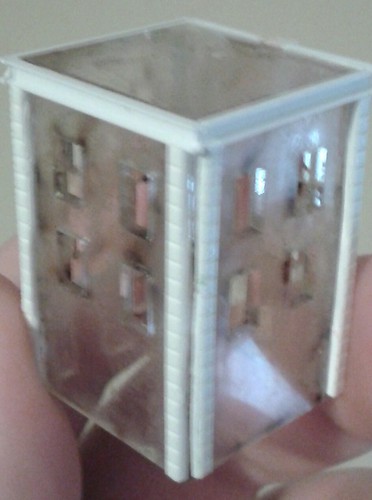
These are smaller residential buildings of three to five stories high and largly around an inch in width. They are five pieces each, made of laser-cut acrylic.
 |
| They smelled all toasty. |
The GameCraft site has got some useful tips on how to deal with acrylic buildings, including suggestions on the type of glue to use. Although the site says that super glue such as Zap-A-Gap could be used, it suggests using different types of plastic glues.
Of course, I used Zap, which wasn't the best choice. The buildings did go together, but the bond was not strong. I dropped one of theem and it fell apart. Since I had already assembled all of them using Zap, I'm stuck. I reinforced them by filling in the seams with Milliput. Besides helping to hide the seams, it will also strengthen the bond.
 |
| I am still wary of the long term durability. |
The models are fairly basic, being boxes with windows cut out in them. Painted up they would be functional, but I decided to add some extra details to some of them to test out how they would turn out.
 |
| In tonight's episode of This Small House... |
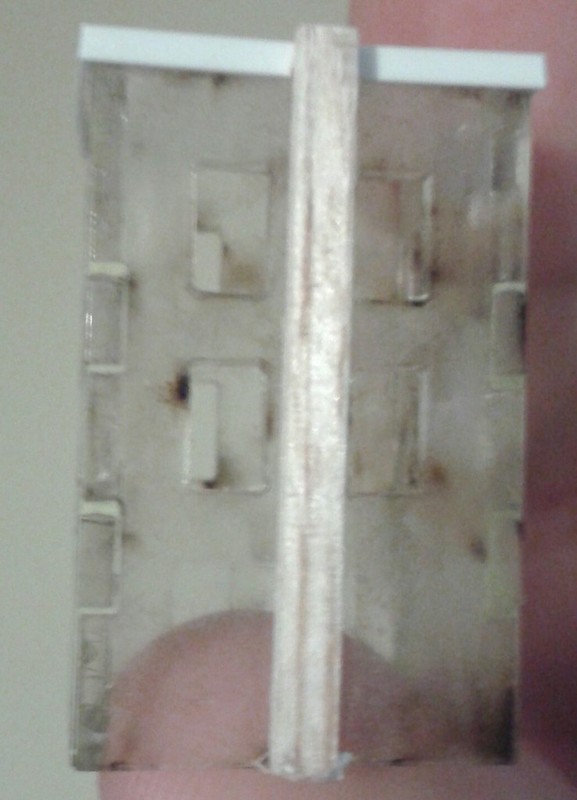
For details I picked up a variety of shaped strip styrene from my flgs and glued pieces to add raised details to the buildings. The buildings also came with acrylic "bricks" that were the cut-out windows. I glued these onto the models as well.
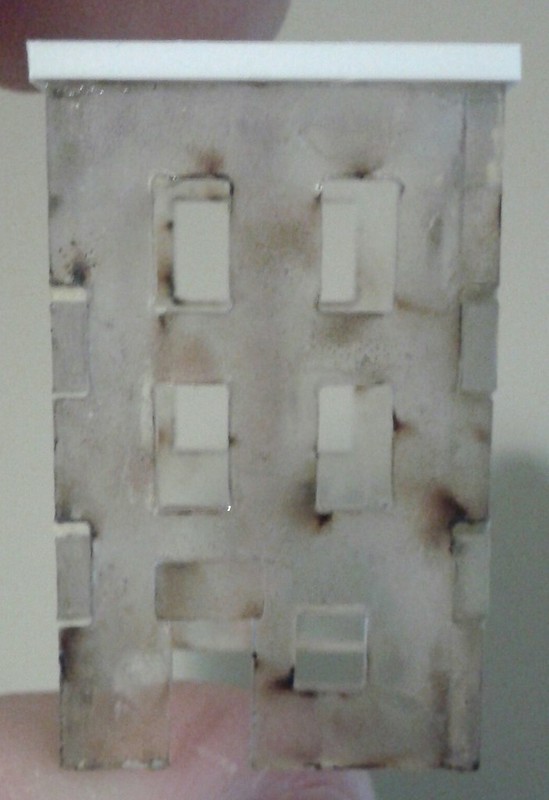
I used some thin strips of balsa to add chimneys.
 |
| Chim-Chimeny |
 |
| Chim-Chim-Cheroo |
The styrene and balsa were glued on using Zap, which mostly did a good job but needed to be reapplied in a few spots.
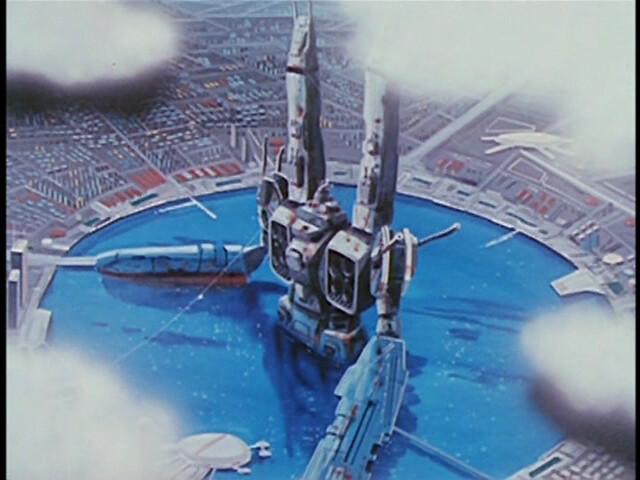 |
| Gratuitous shot of New Macross City surrounding the SDF-1. |
After the details were added, I gave them a quick priming and then painted them. I initially tried to use some craft acrylic paints that I have for terrain and other craft projects, rather than using my more expensive Citadel and Vallejo miniature paints. The craft paints did not provide adequate coverage of the buildings, so I ended up using my better paints.
It took a few coats of paint to provide good coverage of the buildings. More than I would have used on other materials.
After they were painted, I glued (standard Elmer's) pieces of black oak tag on the interior walls of the buildings, to black out the windows. I painted the paper in the doorways to look like doors, then applied varnish.
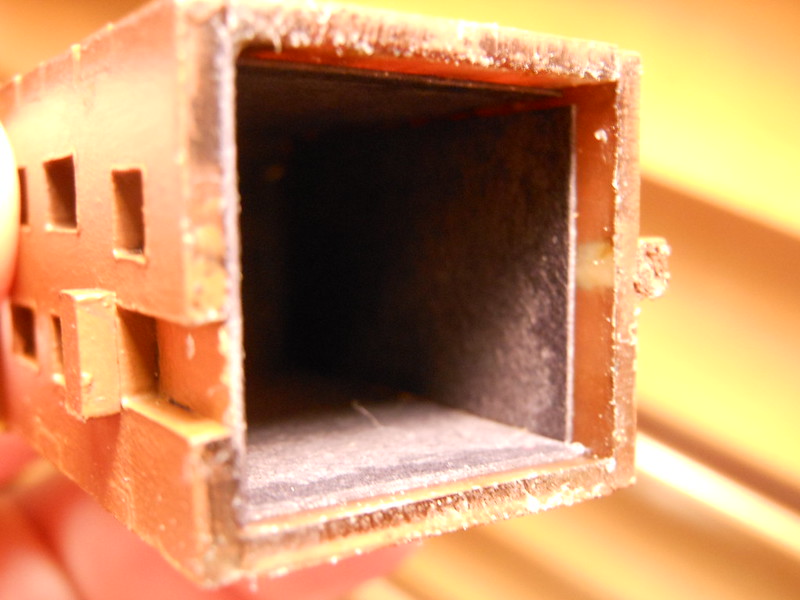 |
| No peeking... |
I think that the effect is nice. I didn't fill the seams as well as I thought I did. They aren't too bad looking...
For the price, the buildings are nice if you are looking to make up a residential neighborhood. I wish I had used a better glue on them, but they should do alright. Putting in the extra work to add details to them paid off, in my opinion, even though it adds a good amount of time and some cost to making them.
I am not sure that I'll choose acrylic buildings over other materials, but GameCraft does have other nice offerings that I will consider for future purchases.
 |
| Flat strips, canals, tiled plasticard, acrylic brick used to add details. |
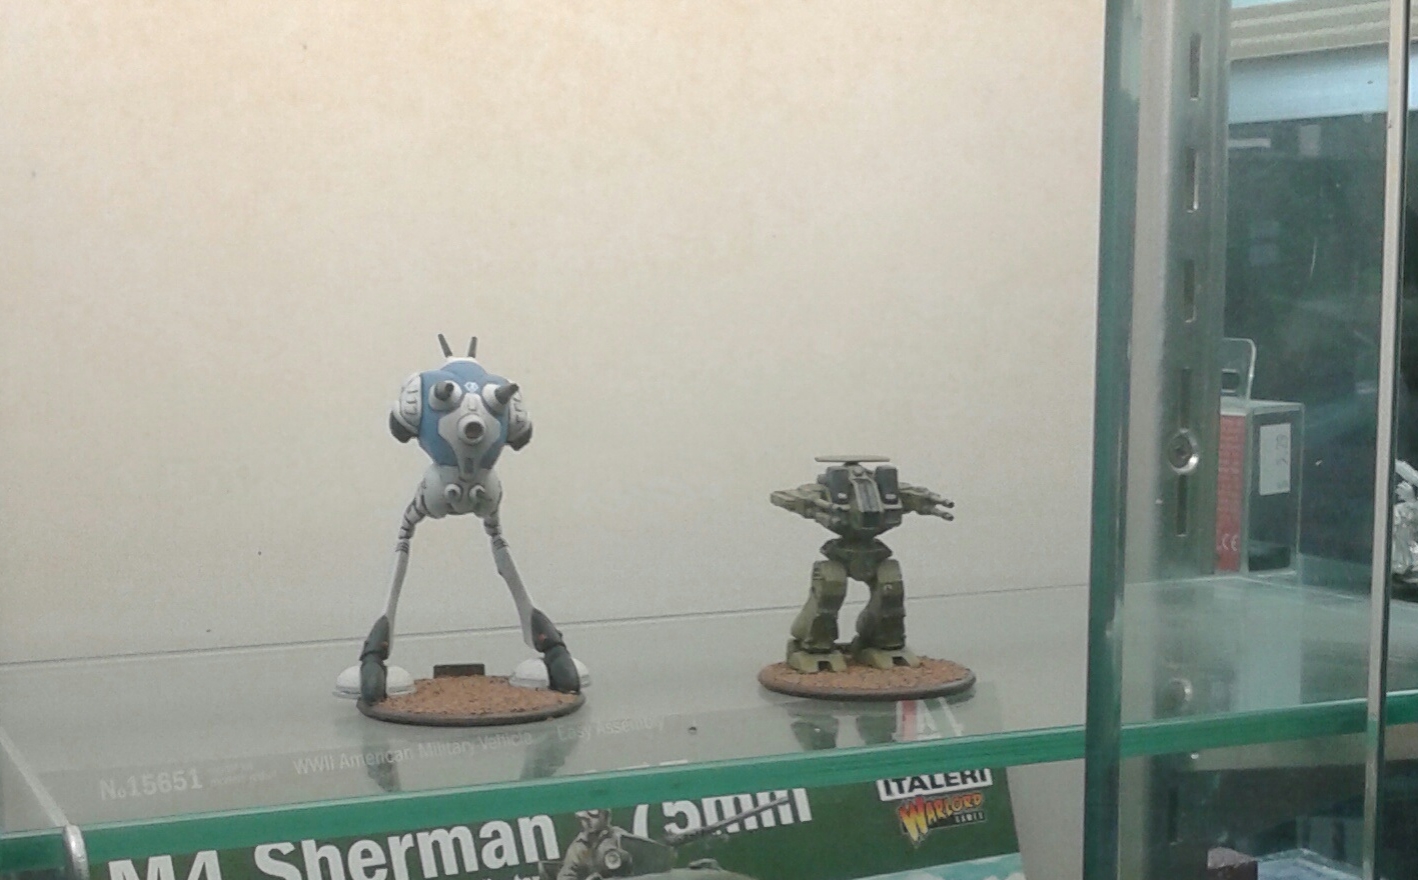
Copplestone 28mm, as well as a Zentraedi Regult and UEDF Spartan (both mostly finished but still works in progress) shown for scale.
 |
| Quarter Round strips create awnings. |