
Showing posts with label Robotech. Show all posts
Showing posts with label Robotech. Show all posts
Saturday, February 13, 2016
Sunday, February 7, 2016
Eggs On Legs
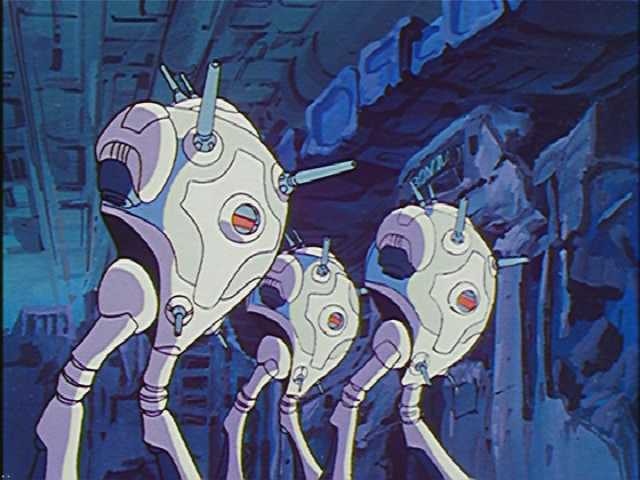
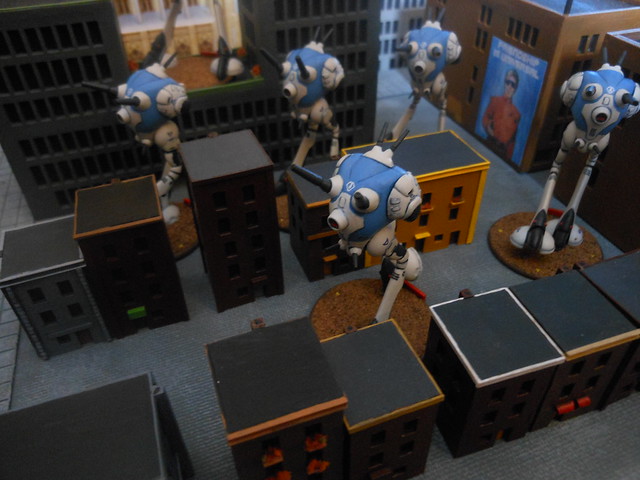
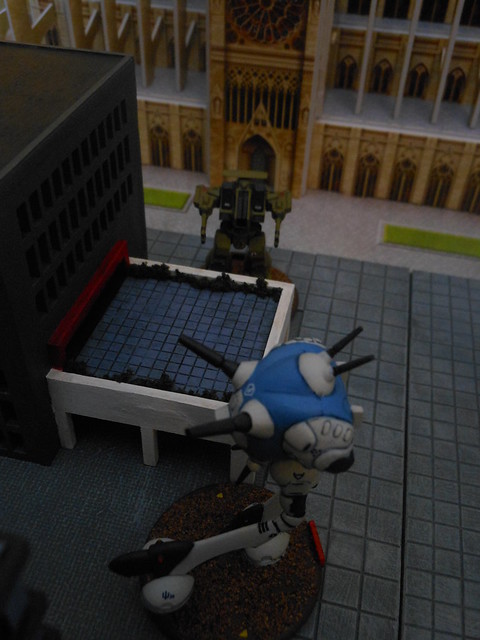
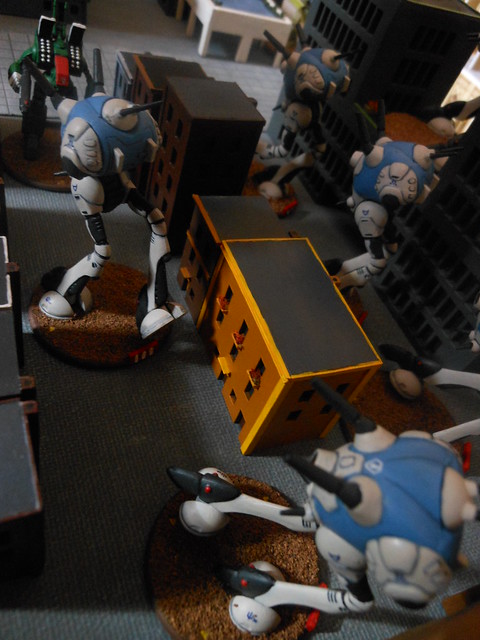
The primary Zentraedi mecha is the mass-produced Regult battlepod.
 |
| Strength in numbers. |
The Regult is armed with two main cannon for engaging the enemy, with a pair of secondary weapons in the bottom front and defensive lasers on the top.
 |
| Where are the Minmei dolls? |

The Zentraedi rely on massed numbers of Regult pods to overwhelm their enemies. Combined with their large size, heavy volume of fire is their tactical strength.
 |
| Caught in a crossfire. |
They are able to operate on the ground or in space.
 |
| Hello. |
Zentraedi warriors are cloned troops that are considered expendable as they are easily replaced with newly grown clones.
 |
| Someone's having a bad day. |
The Zentraedi armada is huge, filled with easily replaced warriors and mass produced mecha.
This means that a focus is on offense rather than defense, so the Regult's armor is thin. The Regult pod has barely enough room for its pilot.
Sunday, January 17, 2016
Sparkling Spacemats!
I've been getting into Star Wars Armada and Star Wars X-Wing games. There is also the space combat aspect of Robotech to consider.
A necessary accessory to a space combat game is a space combat game mat.
There are plenty of wonderful mats out there with artists' renditions or even Hubble photographs. These are quality productions with beautiful prints. I had considered these but they are costly.
I decided to go cheap.
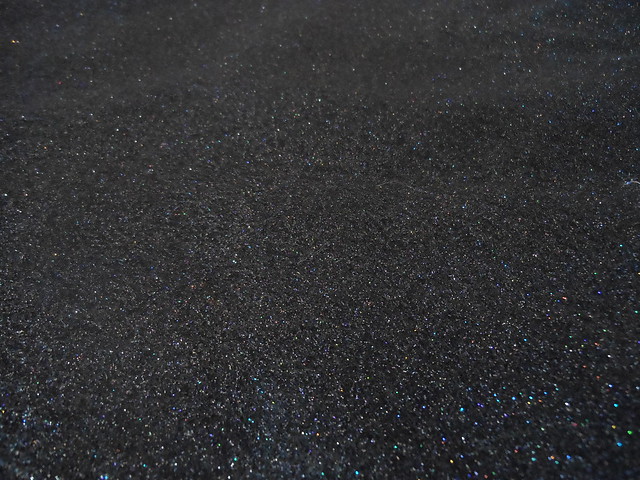
I visited the local fabric shop. The store had a few space themed prints, but in the end I chose felt with glitter. The felt will keep ship models from sliding around much, while the glitter produces an effective starfield that doesn't visually overwhelm.
Total cost for two yards of cloth: $16.00.
In the future I will probably want a nebula-style setting. I will have to keep my eye out for suitable cloth or just buy a wargaming mat.
A necessary accessory to a space combat game is a space combat game mat.
There are plenty of wonderful mats out there with artists' renditions or even Hubble photographs. These are quality productions with beautiful prints. I had considered these but they are costly.
I decided to go cheap.
I visited the local fabric shop. The store had a few space themed prints, but in the end I chose felt with glitter. The felt will keep ship models from sliding around much, while the glitter produces an effective starfield that doesn't visually overwhelm.
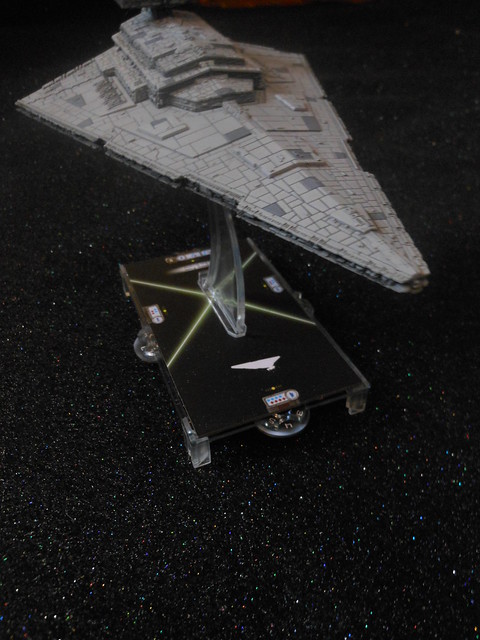 |
| Imperial Star Destroyer not included. |
Total cost for two yards of cloth: $16.00.
In the future I will probably want a nebula-style setting. I will have to keep my eye out for suitable cloth or just buy a wargaming mat.
Saturday, January 16, 2016
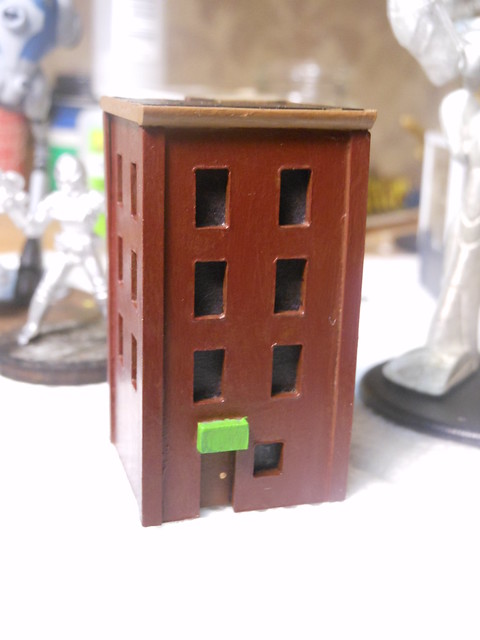
Bates Hotel
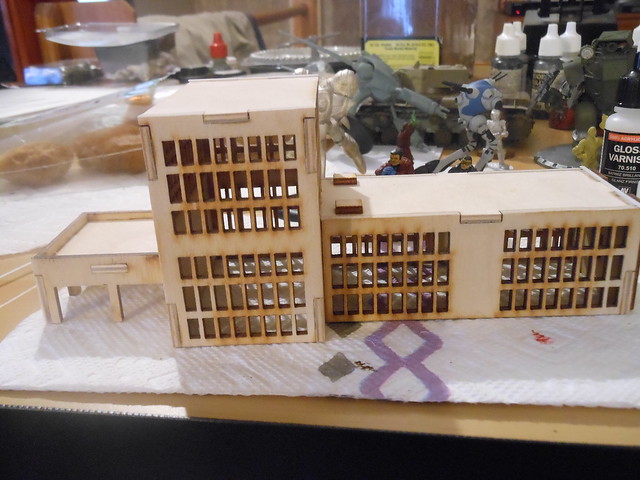
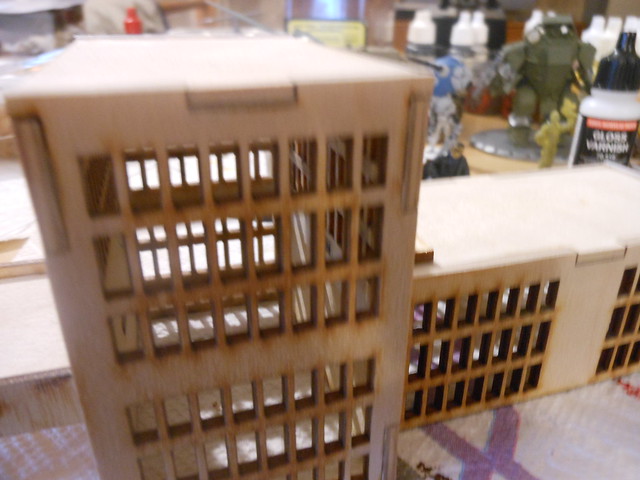
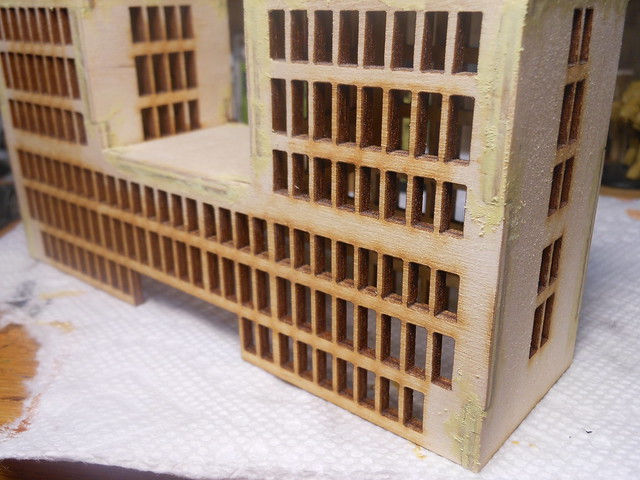
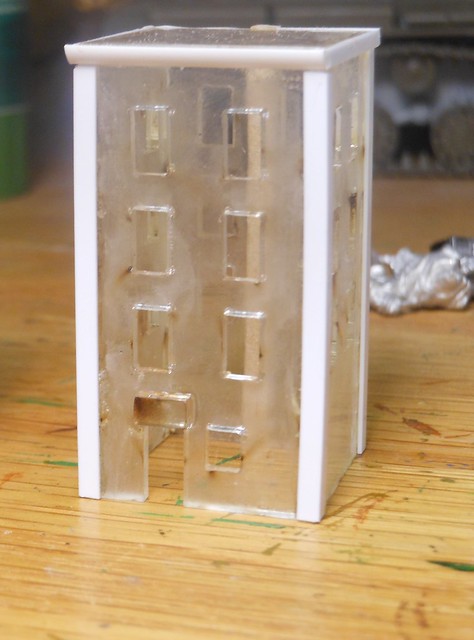
Today I finished another of the Burn In Designs buildings. This one is sold as a hotel and it has the definite look of a modern hotel.
 |
| Assembled and sanded. |
As the others, this was easy to put together using wood glue.
Spare bits of mdf were added for unobtrusive roof details.
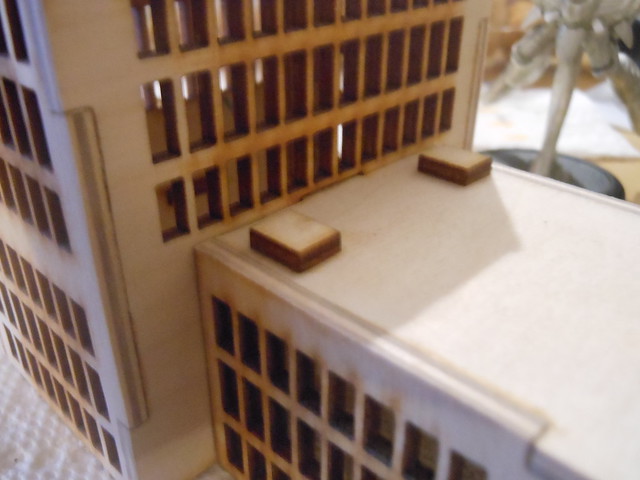
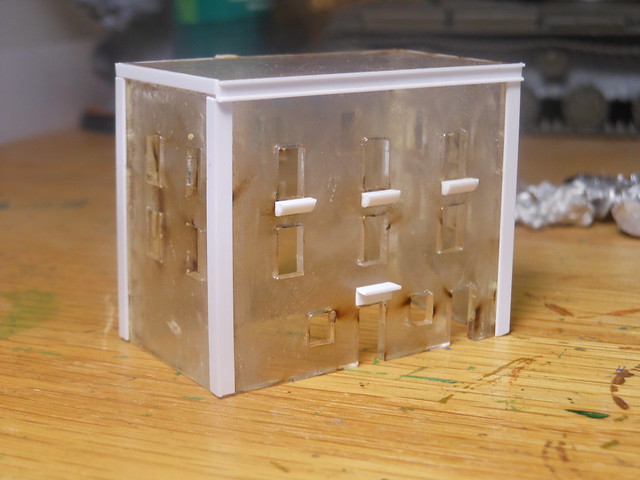
The covered entryway seemed like it would be a perfect candidate for adding a patio. I took one of the entrance arches from the Burn In Designs hospital and added it here. It fit perfectly in the space.

If you have been following this blog then you know I've become fond of adding styrene strips for enhanced details on these buildings. This one is no different. The edges of the roof have been lined with strips of styrene.
Tiled plasticard for the patio. This sized tile didn't allow for a snug fit, something would have to be done with those edges.
 |
| Paint job work in progress |
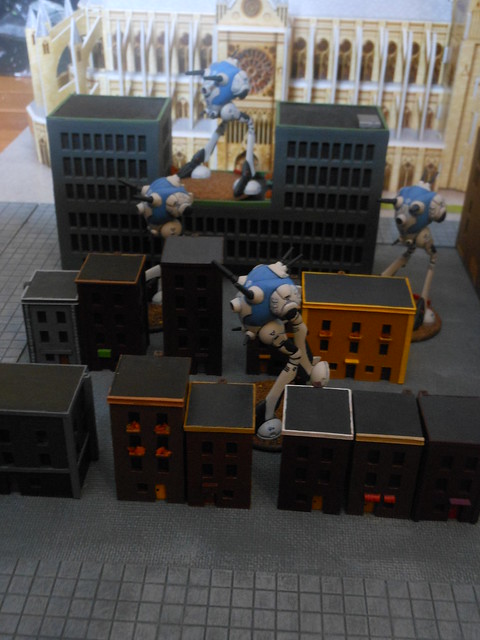
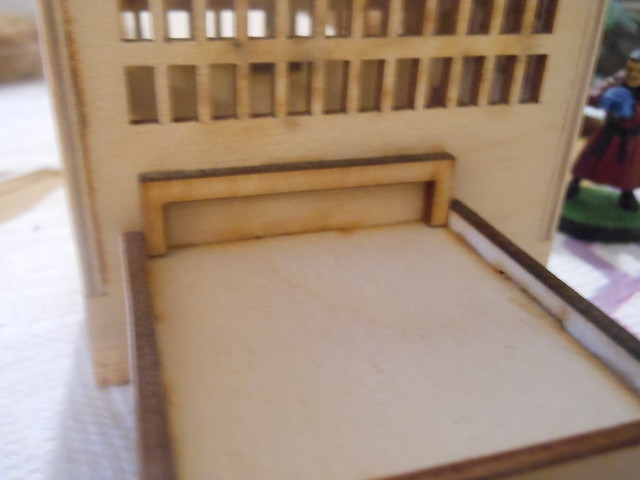
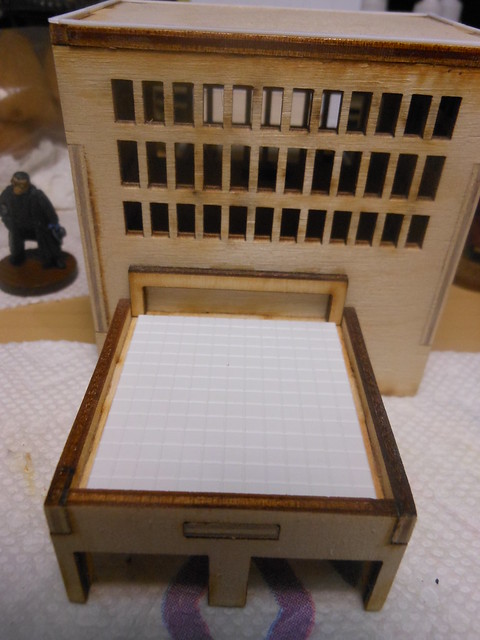
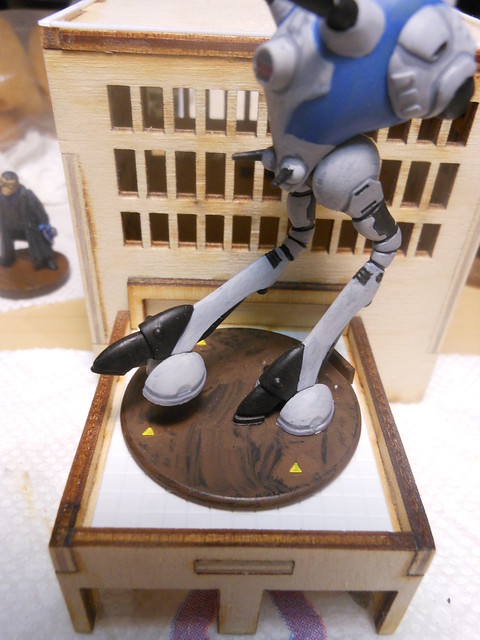
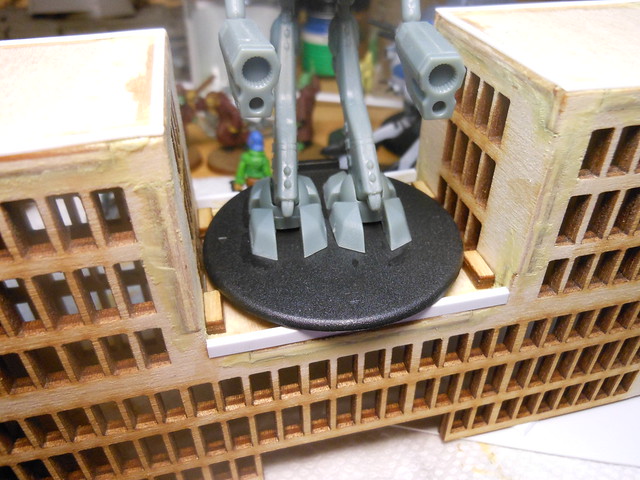
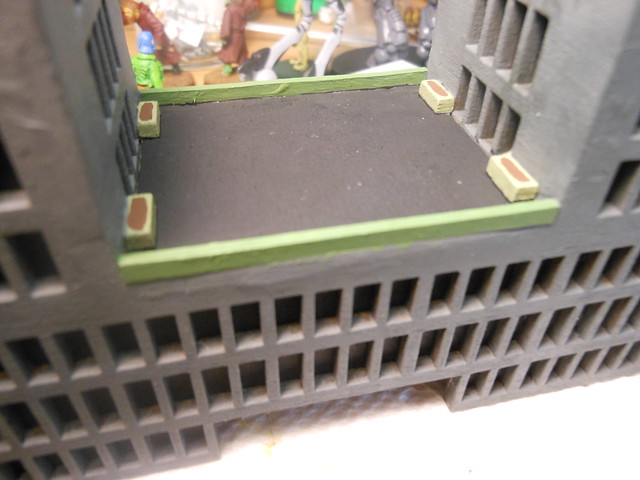
Here is a Zentraedi battlepod added to show how the 40mm base will fit on the patio.
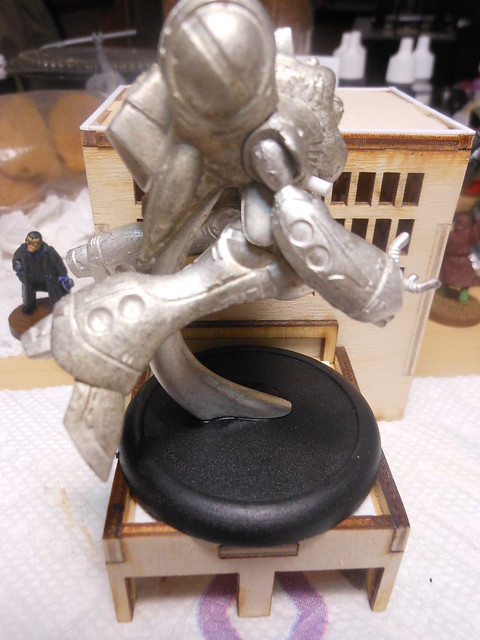
Female power armor -- the 50mm base doesn't fit in, but on the raised edges. That needed consideration.
Painted the building. I did a three-tone color scheme.
As usual, I pasted oak tag on the interior of the building to cover the windows.
I solved the misfitted plasticard problem with clump foliage along the edges.

Spartan destroid for size.
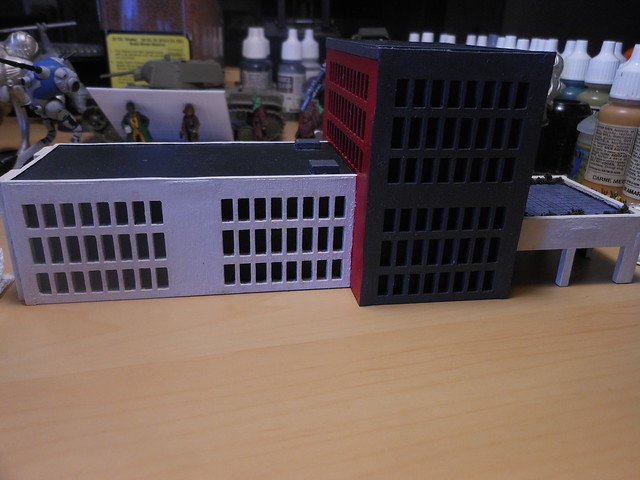
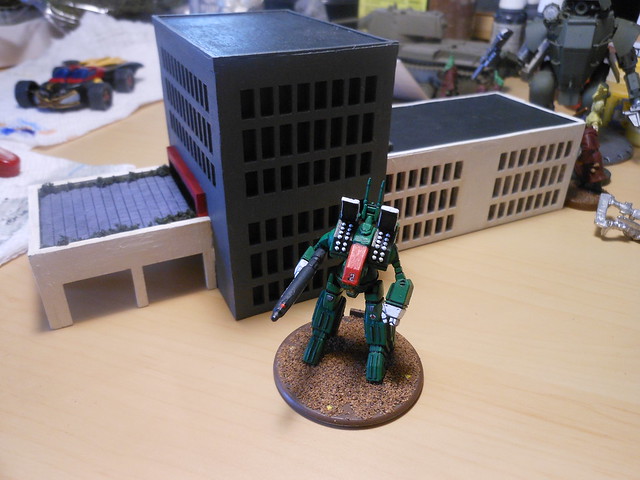
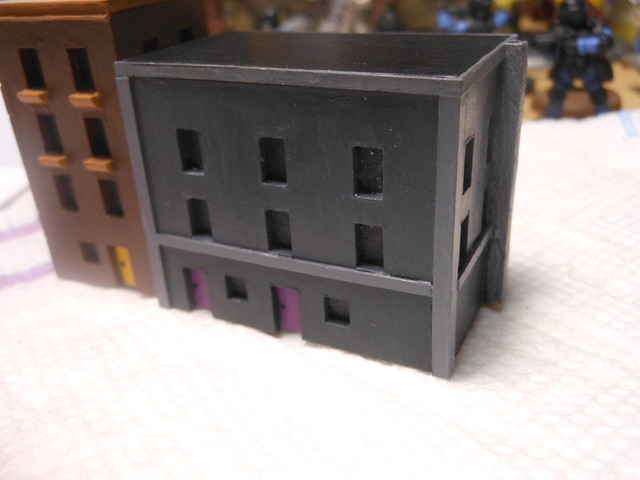
Comparison with a couple of other recently completed buildings. Behind is another Burn In Designs kit, while in front is a GameCraft house.
Thursday, January 7, 2016
3 Shades of Grey
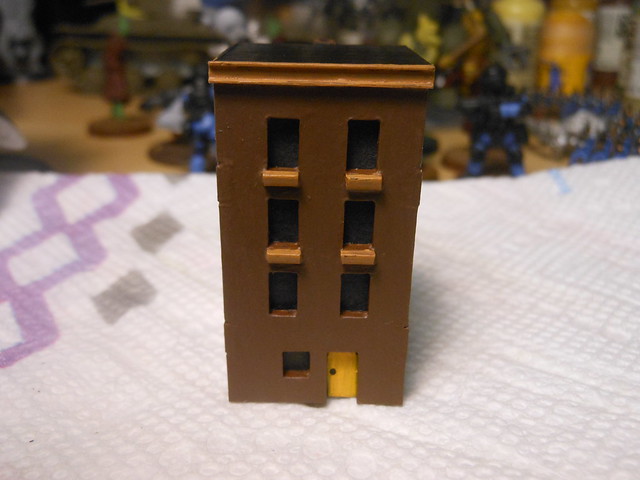
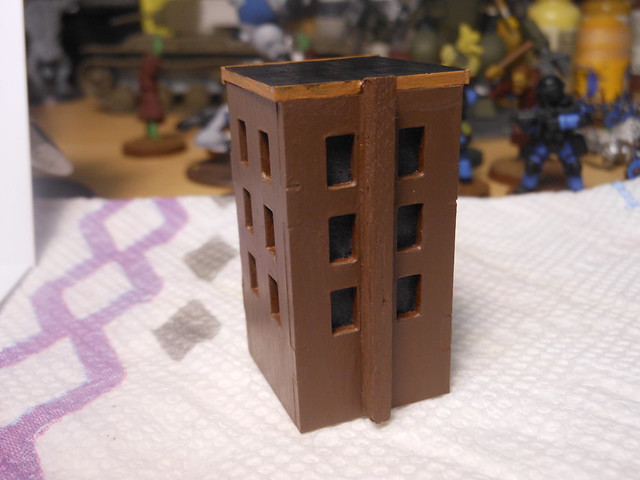
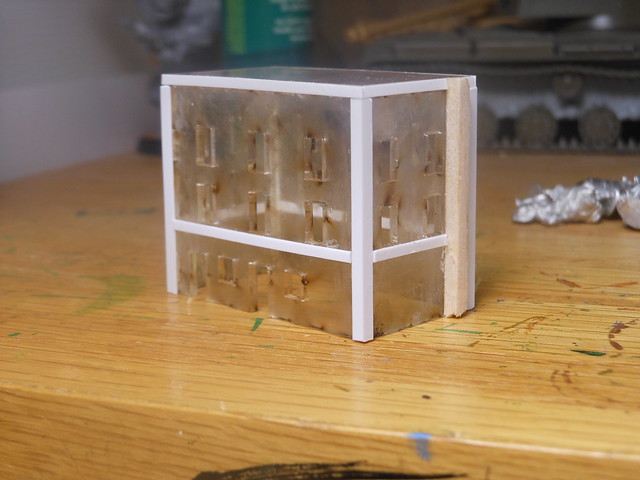
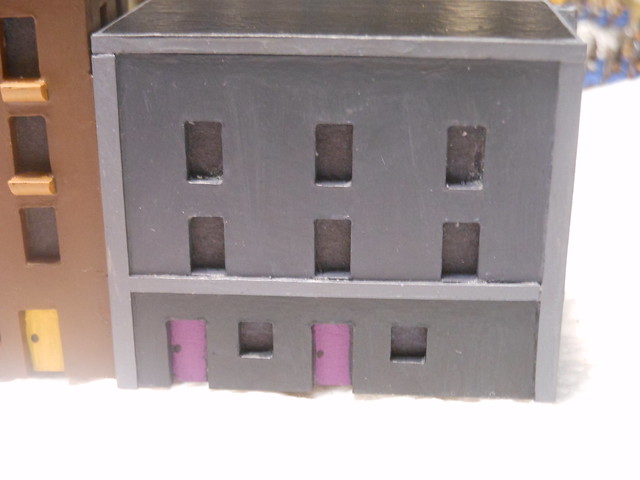
Just a quick post to show a couple of more acrylic houses from GameCraft.
I did a sloppy sort of job painting these. They had been sitting on my painting desk half-finished for a while and I just wanted to get them done and move on to other clutter.
I wish they came out better, but I'm going to leave them be for now and perhaps revisit them in the future.
I did a sloppy sort of job painting these. They had been sitting on my painting desk half-finished for a while and I just wanted to get them done and move on to other clutter.
I wish they came out better, but I'm going to leave them be for now and perhaps revisit them in the future.
 |
| Four story house with styrene details added. |
 |
| The balsa chimney was crushed a bit on the bottom. It shouldn't show too much on the table. |
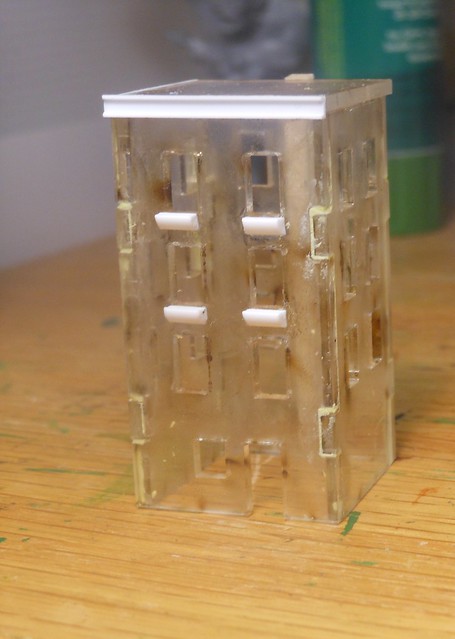 |
| Unpainted version. |
 |
| Plants in the planters! |
 |
| A larger, two family house. |
 |
| Gunky windows and visible varnish streaks on the wall. Not so bad from far away, but disappointing. |
 |
| The bottom floor is a shade darker than the upper ones, but that doesn't come through well here. |
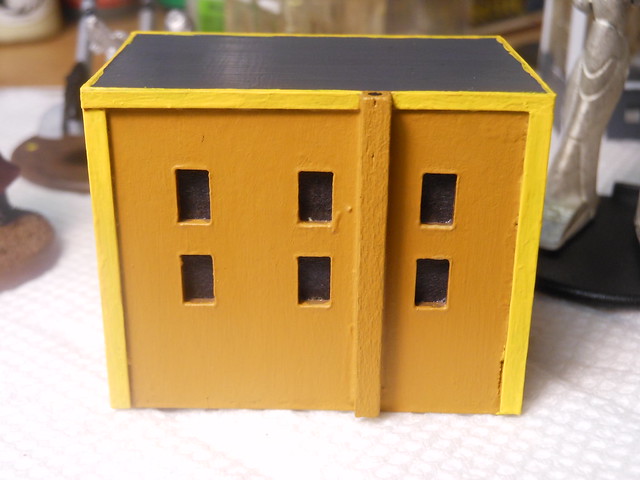
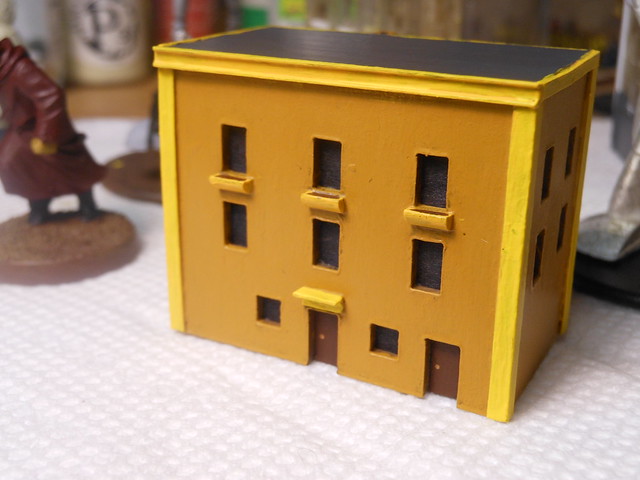
Friday, November 27, 2015
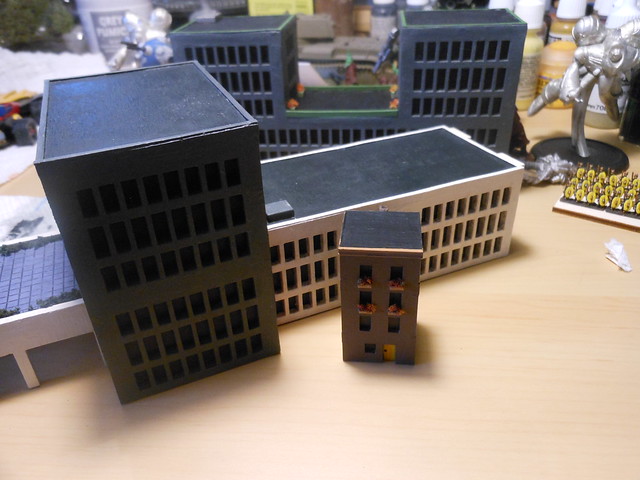
The Two Towers
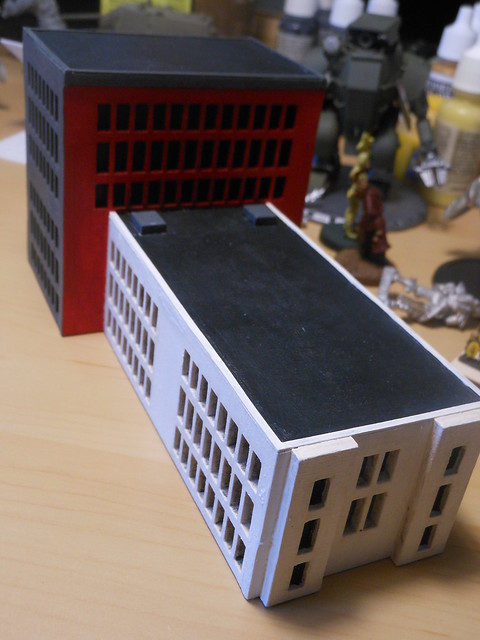
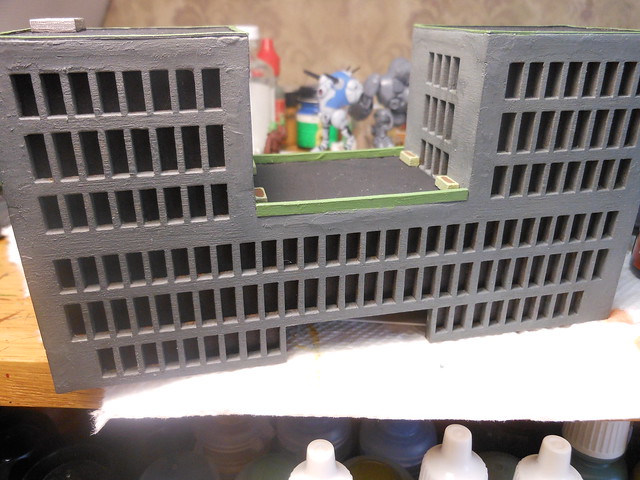
One of the Burn In Designs buildings that I found most interesting is the office building that has 'two towers' with a connecting piece in the center. There are actually two such buildings -- today I'm showing off the smaller one.
Here it is sanded and filled. Like the other Burn In Designs buildings, this one is mdf.
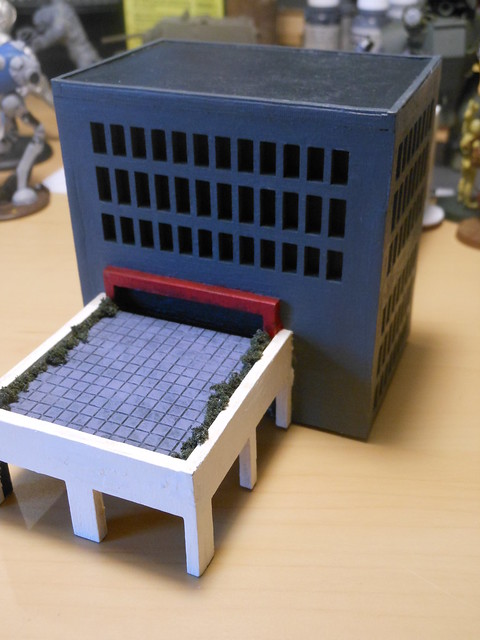
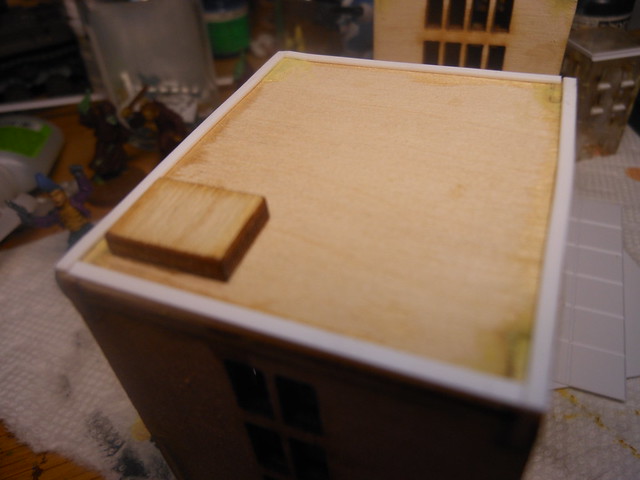
On on of the towers I put a spare bit of mdf to serve as a HVAC unit. It's flat and so should allow for the impression of detail while still allowing large based models to have some stability.
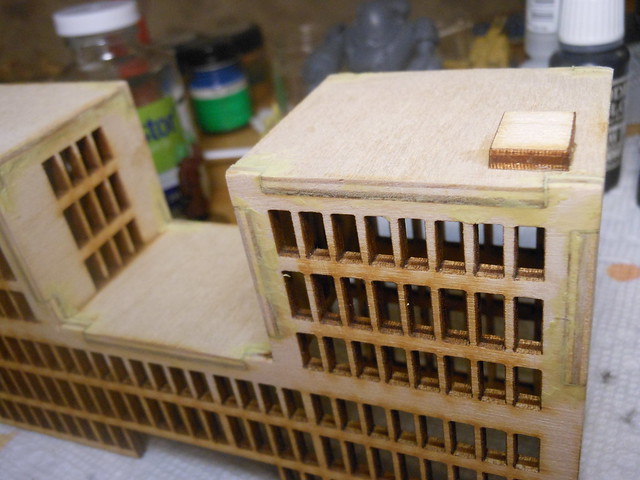
I added some styrene strip trim to the tower roofs. It looks cleaner like this.
In the middle section I added thicker styrene strips along the edges. I envision that the center section would be accessible to pedestrians.

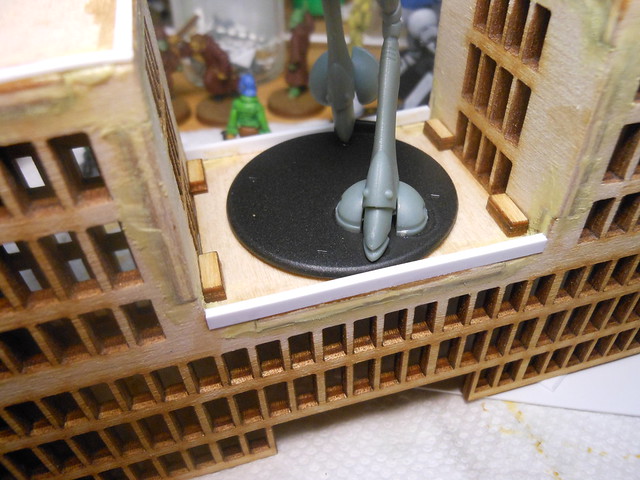
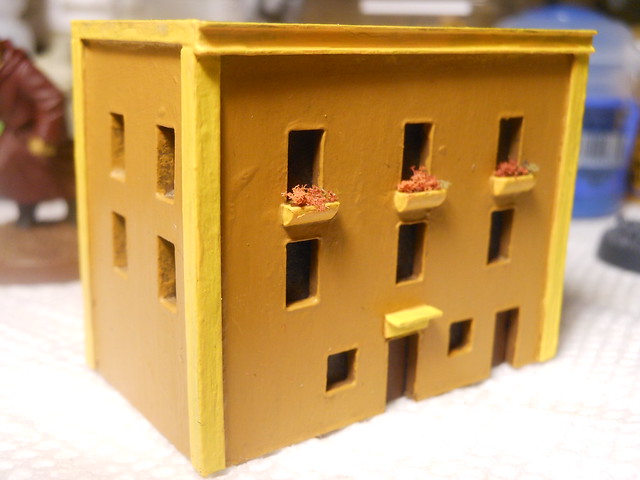
I included mdf brick "planters". I originally planed to do a roof-top garden type setup there, but removed many additions to facilitate the bases of the mecha models.
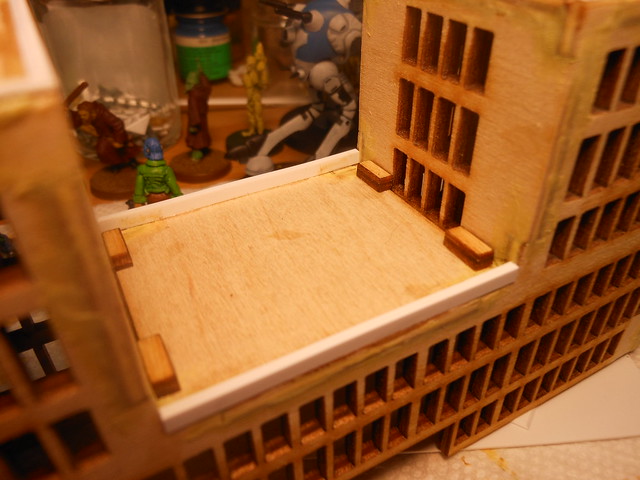
The bases are either 40mm or 50mm wide. The creator of the building had this game in mind when designing it and his planning shows.
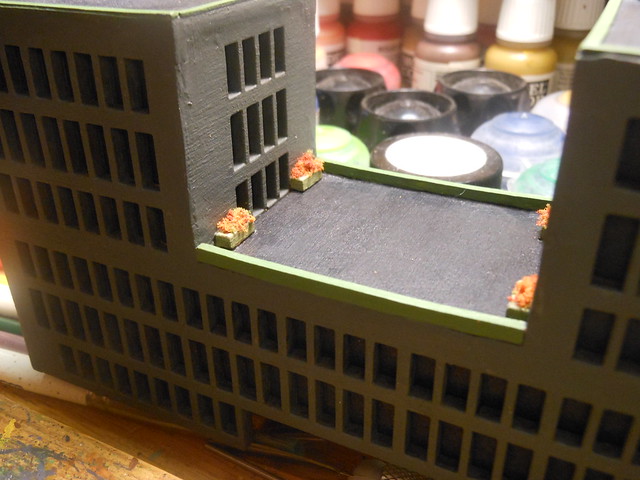
The painted and window-covered building...
I left the large entrances in the center of the building open. I can see possibly having a driveway or even street passing through there.
Added flowering plants. I like it.
I've been having fun with this project. Although I've focused more on Judge Dredd lately, I haven't abandoned this one. I enjoy slowly building up my city, putting together the kits and figuring out practical ways to enhance the way they look while still maintaining their gaming-utility.
Although I have been also building the models and painting them, my main focus for this project has been terrain-first. It's a new approach to me.
Here it is sanded and filled. Like the other Burn In Designs buildings, this one is mdf.
On on of the towers I put a spare bit of mdf to serve as a HVAC unit. It's flat and so should allow for the impression of detail while still allowing large based models to have some stability.
I added some styrene strip trim to the tower roofs. It looks cleaner like this.
In the middle section I added thicker styrene strips along the edges. I envision that the center section would be accessible to pedestrians.
I included mdf brick "planters". I originally planed to do a roof-top garden type setup there, but removed many additions to facilitate the bases of the mecha models.
The bases are either 40mm or 50mm wide. The creator of the building had this game in mind when designing it and his planning shows.
The painted and window-covered building...
I left the large entrances in the center of the building open. I can see possibly having a driveway or even street passing through there.
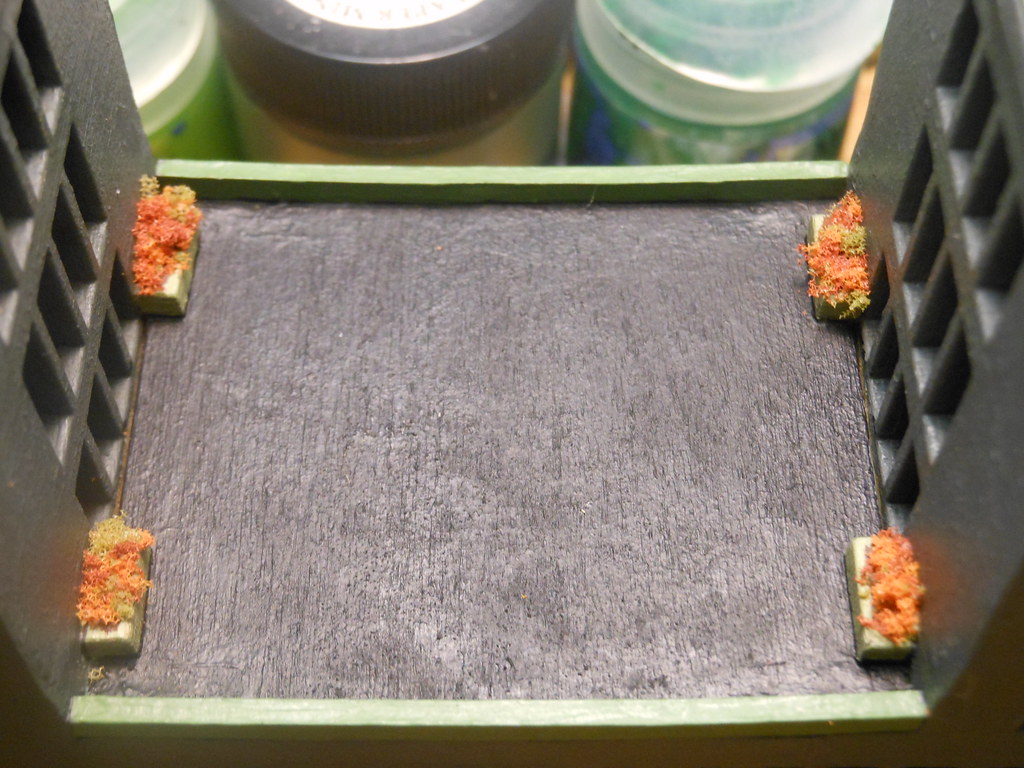
 |
| Empty planters. |
Added flowering plants. I like it.
I've been having fun with this project. Although I've focused more on Judge Dredd lately, I haven't abandoned this one. I enjoy slowly building up my city, putting together the kits and figuring out practical ways to enhance the way they look while still maintaining their gaming-utility.
Although I have been also building the models and painting them, my main focus for this project has been terrain-first. It's a new approach to me.
Sunday, October 18, 2015
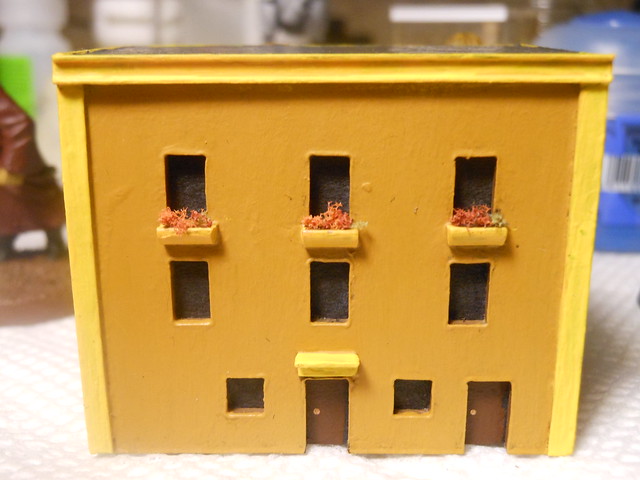
Fleur de Lease
I've been in a miniature painting, rather than building painting, mood. But I did manage to finish off another couple of GameCraft acrylic houses.
In one of those "duh" moments I realized I could have been using L-shaped styrene strips on the building corners to hide the joints and increase strength.
One of my ideas for enhancing these was to add window boxes. For these I used quarter round strips.
My balsa strip reserve was getting short, so on these buildings the chimneys don't go all the way to the ground. I don't think it will be too noticeable.
Basing material was used to add plants to the planters.
Subscribe to:
Posts (Atom)