Sunday, July 26, 2015

In the Lap of Luxury

Three new buildings to add to the collection of completed terrain.

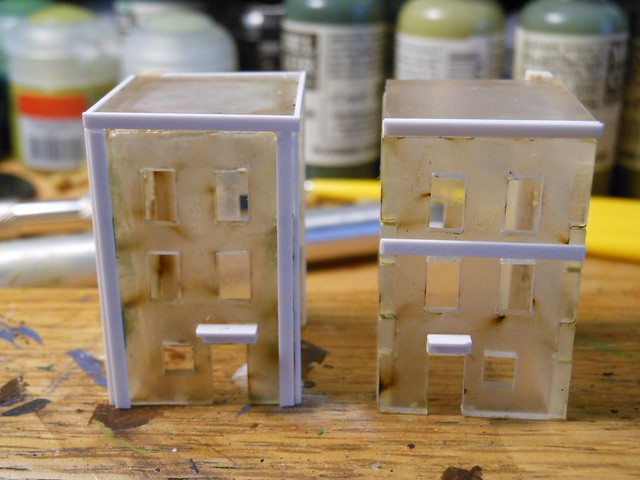
These two are a couple of more acrylic houses that I got from GameCraft.

You may remember this picture from when I posted details about how I was modifying the acrylic buildings.


I finally got around to painting them up.

Here they are without the added oak tag paper on the interior.

Empty shells.

In this next picture, the oak tag was glued on the insides and the doors painted.  I think it makes a big difference in how they appear.


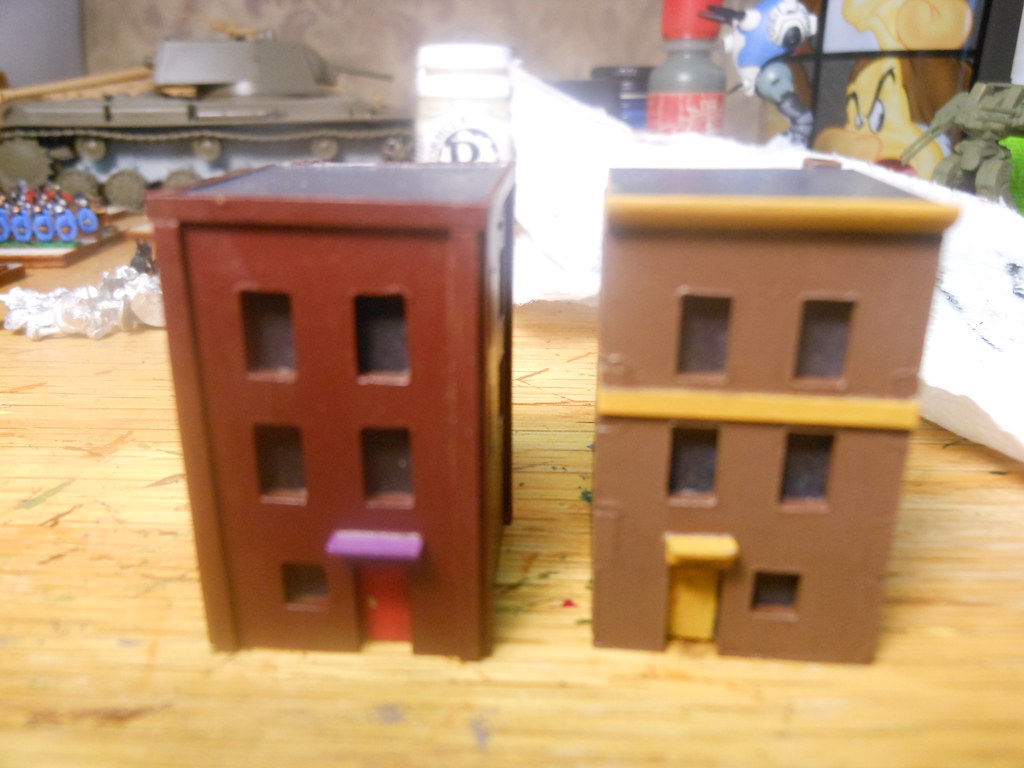
Much better looking.


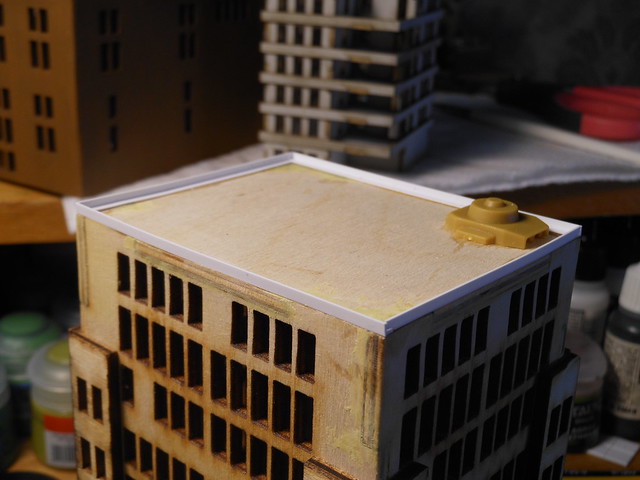
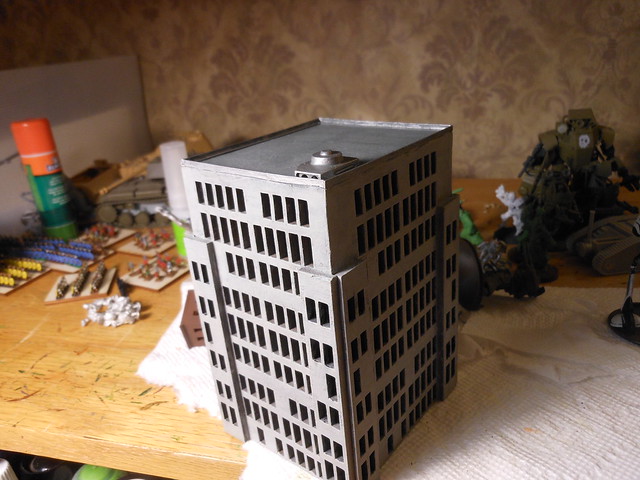
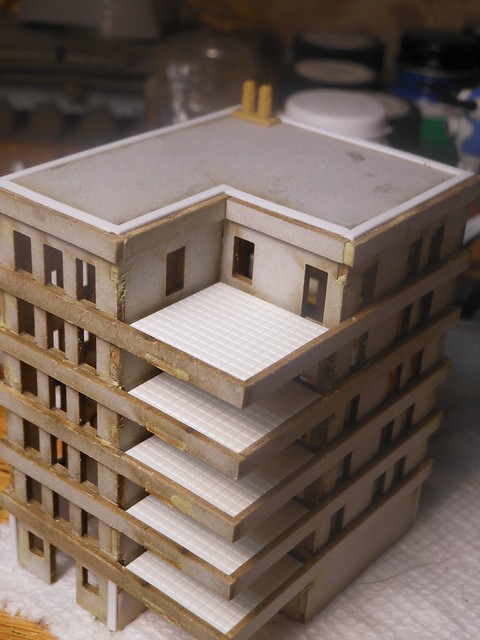
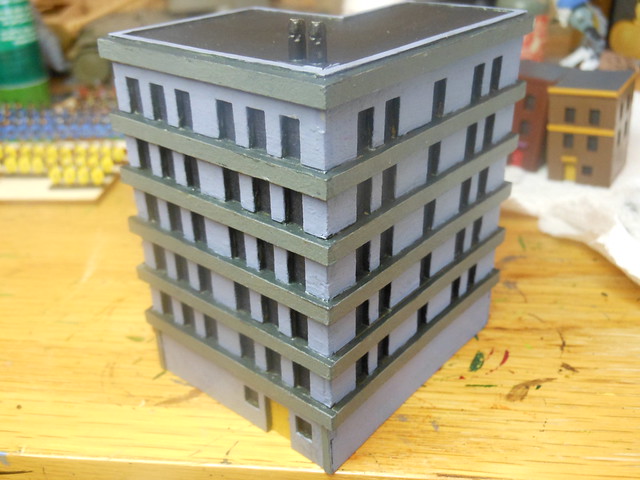
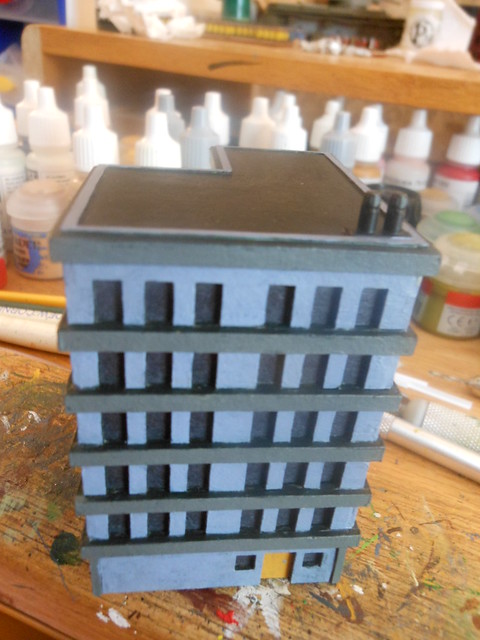
The next building I finished is also from GameCraft.  This one is made out of matboard.  It was a lot of fun to assemble as it was more than just five parts.
The pieces were easy to glue together with just white glue.  I applied Milliput to try to hide the seams.


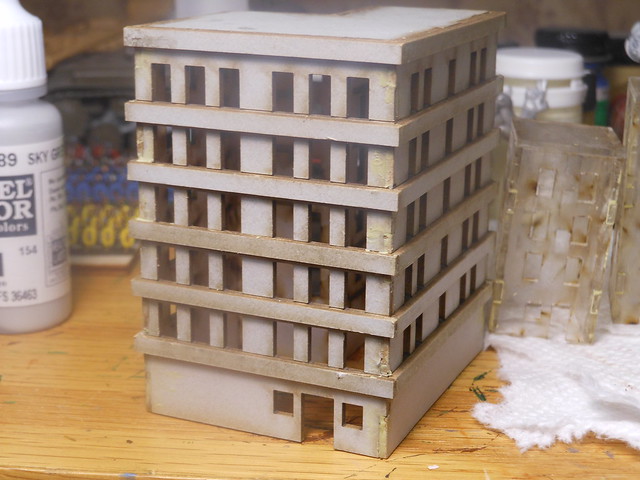
Looks a little gunky with the green stuff applied.

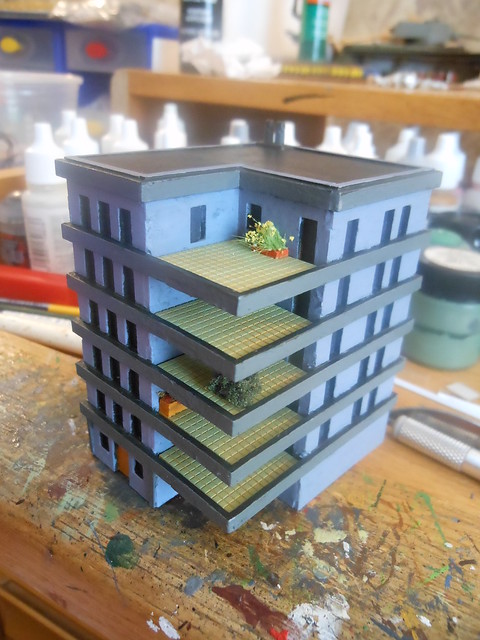
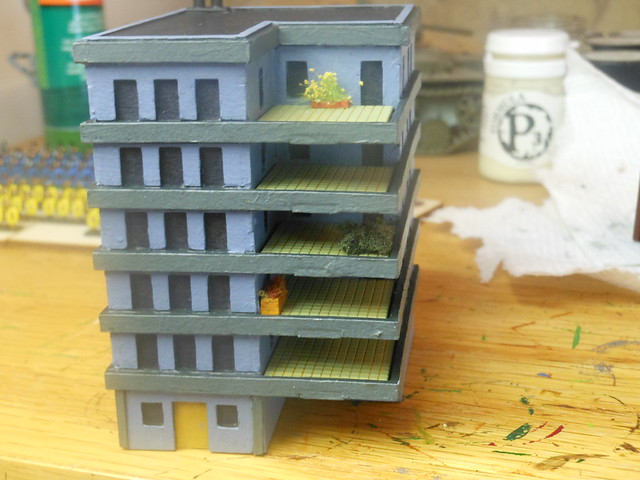
I especially like the terraces.  These are obviously apartments for the "more comfortable" residents of the city.


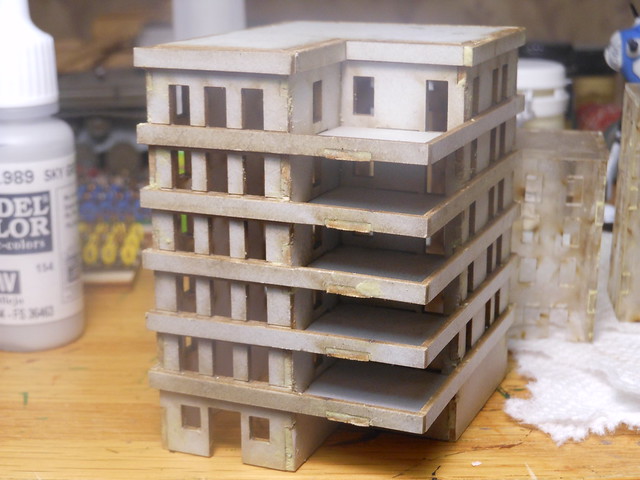
As it is, it is a good looking building, but I wanted to add some pizzazz.

The roof, in particular, needed something more to make it look cleaner.  Otherwise, the layered parts would show more obviously.  Also, the corners of the first floor where the doors were needed something a bit more.

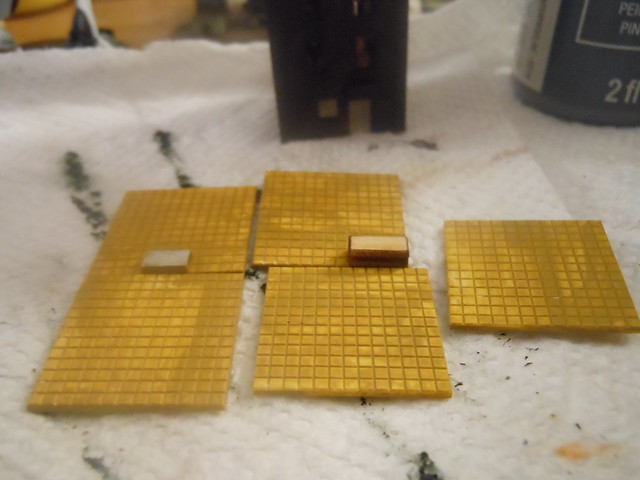
Styrene strips have become my standard building enhancer.

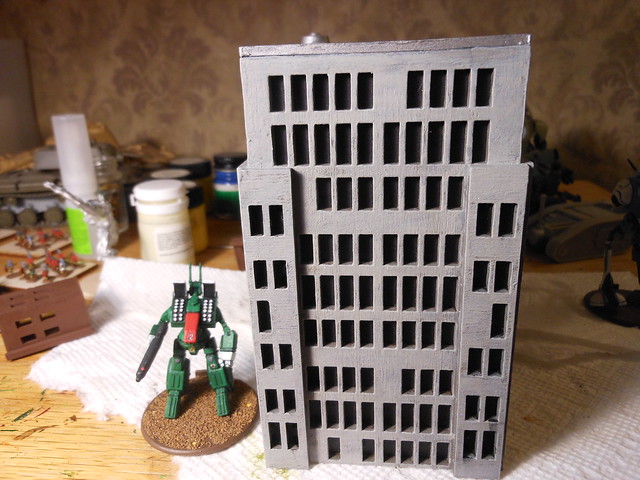
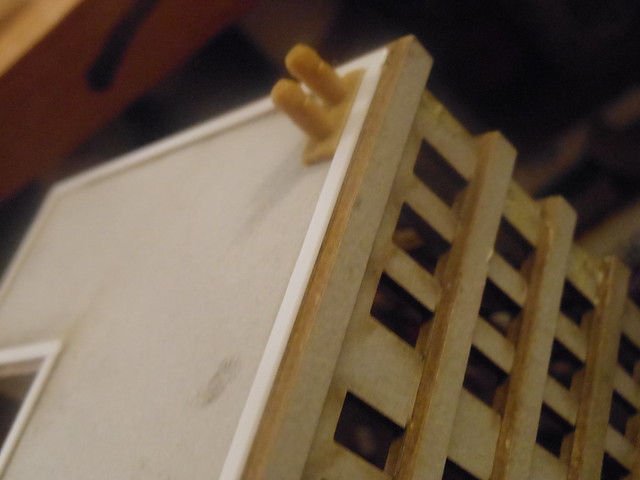
Digging around my spare parts tub, I found a couple of heavy missiles from the Phalanx sprue that would serve as chimneys.


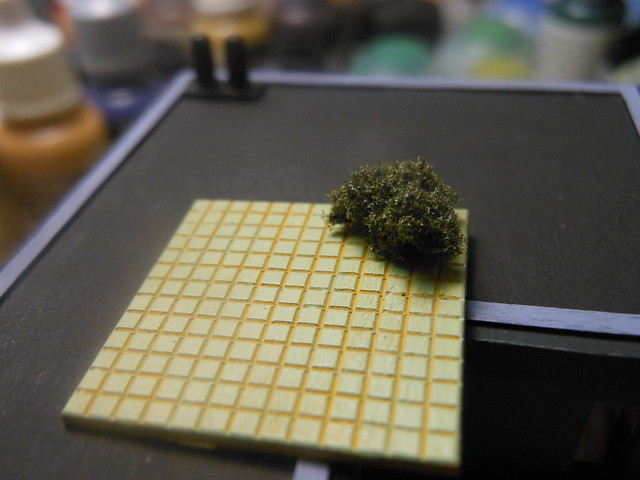
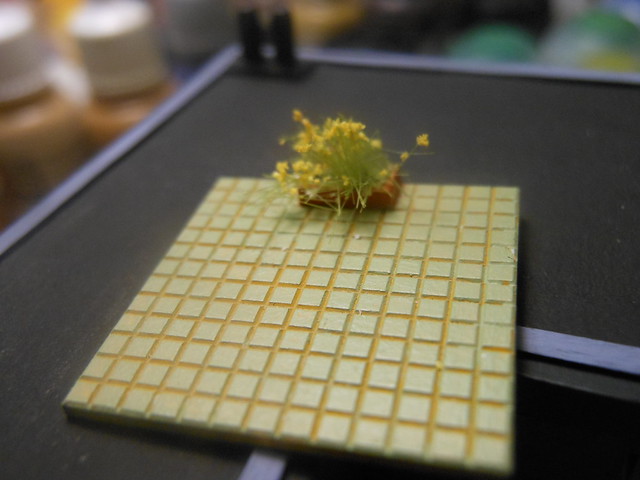
I also figured that those terraces could use a little more detail and cut out some fitting tiled plasticard pieces to add to them.

Looking more interesting.

I didn't glue those on, figuring it would be easier to paint the building and the tiles separately, then glue them together later.

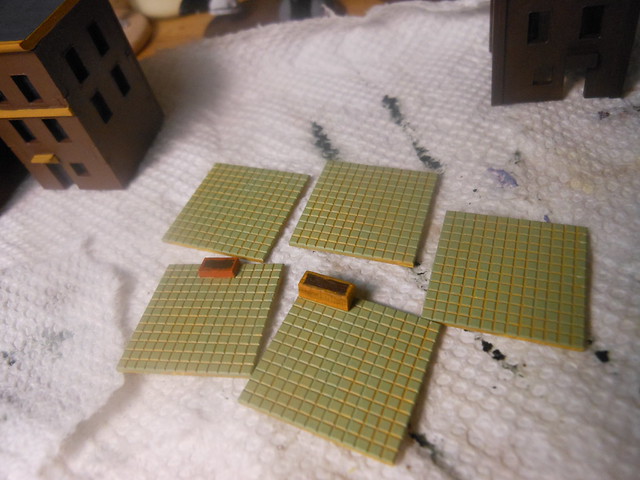
Under layer  of paint applied.  The planters are a spare matboard part from this building and a leftover mdf brick from one of the Burn In Designs buildings I have.


I dry brushed the tiles, so that the tan in the recessed lines gives the illusion of grout.


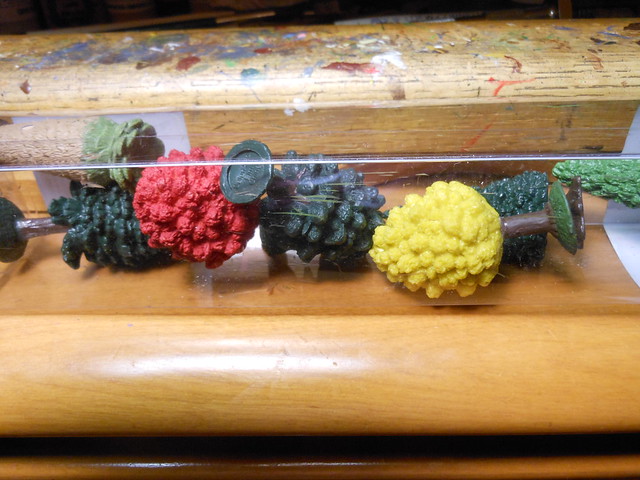
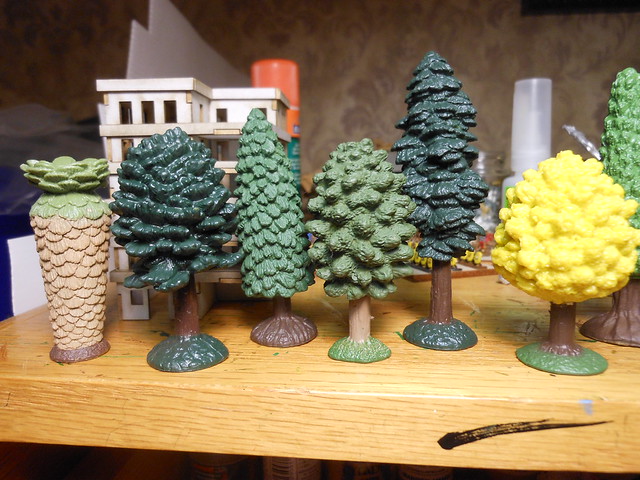
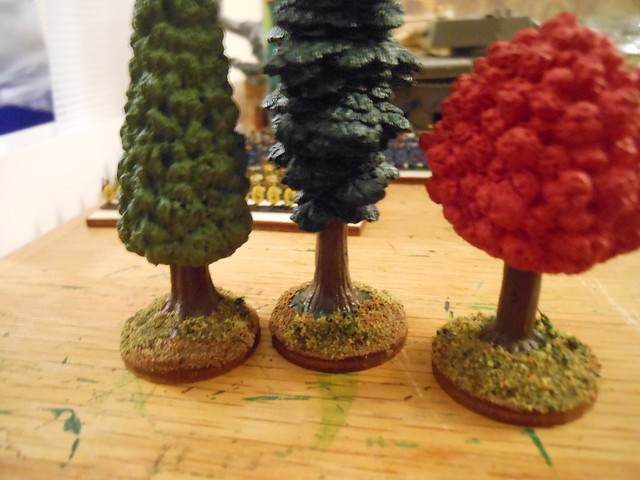
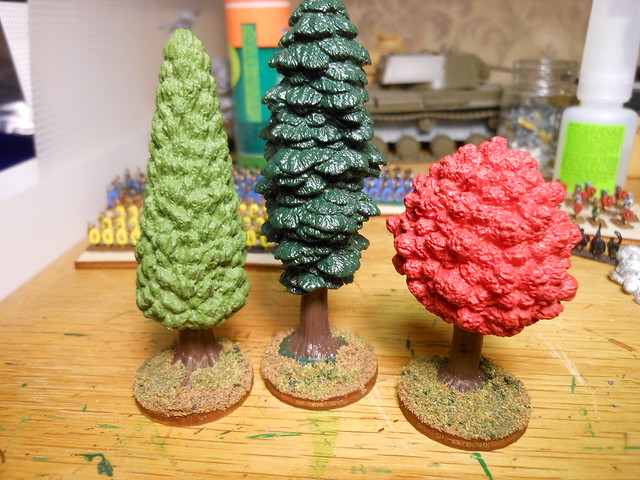
The next step was to add foliage.  I used various terrain supplies I have laying about.


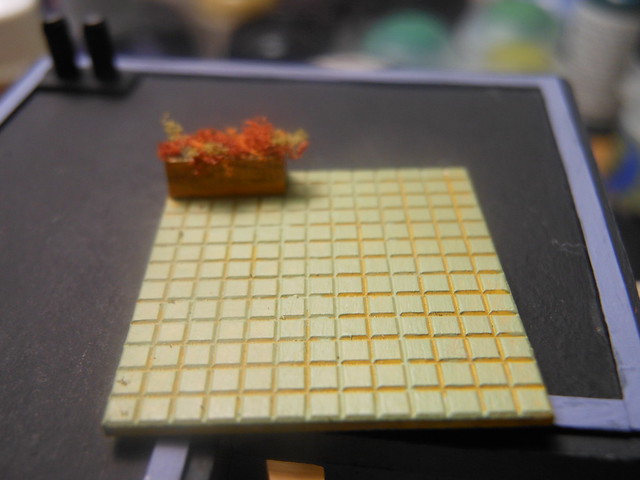
The building painted up nicely and the terraces look good (although one of my friends still thinks they look a little bare).  As usual with these buildings, dark paper was glued to the interior of the building.


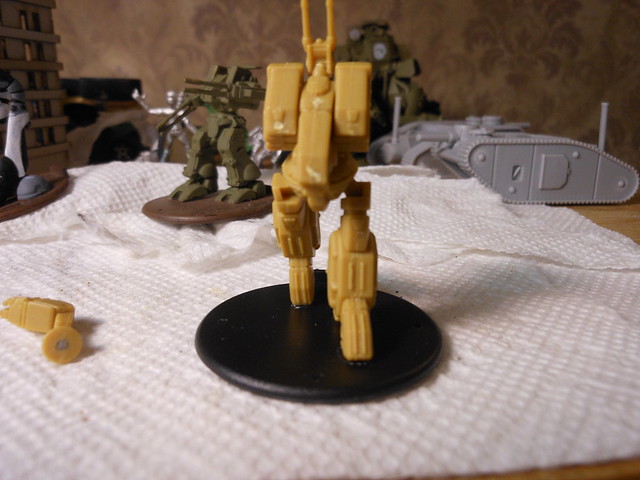
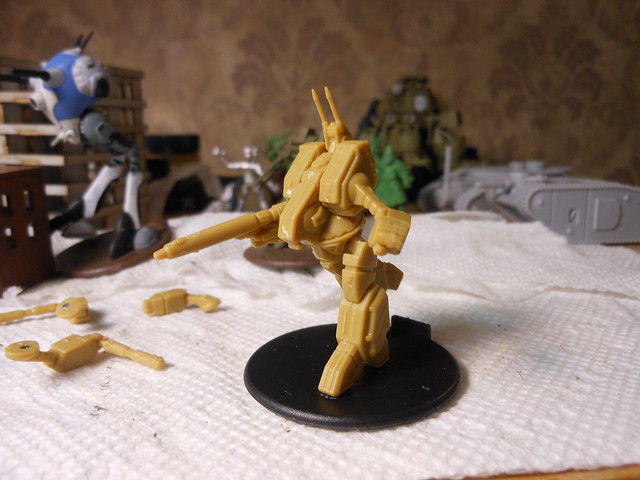
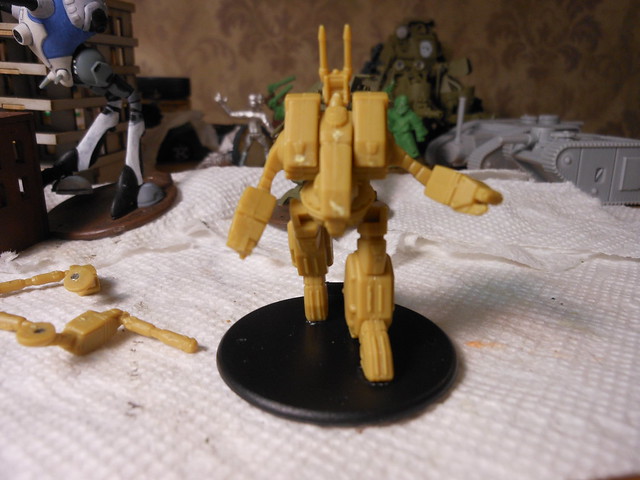
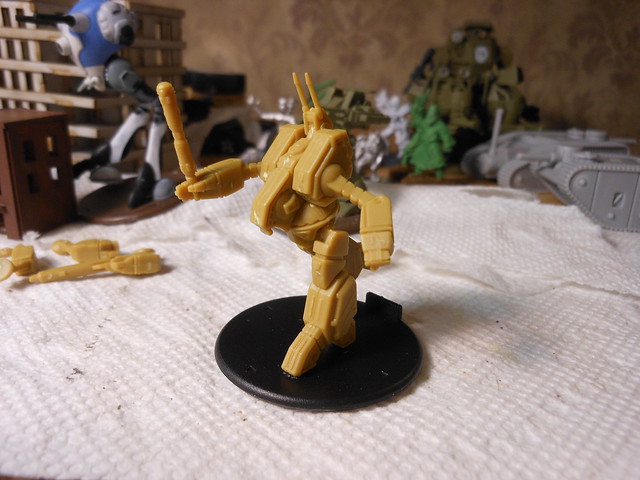
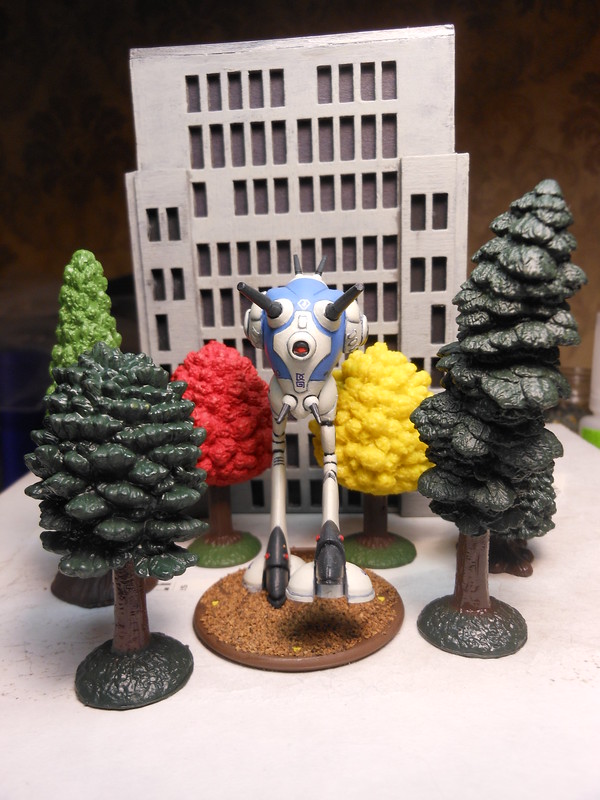
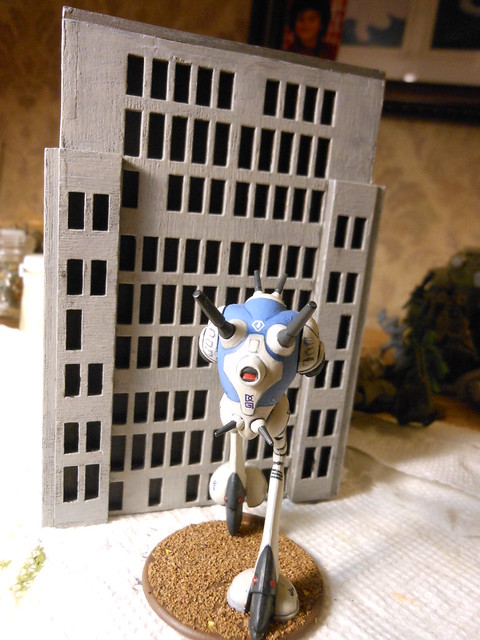
Shaky camera during combat:
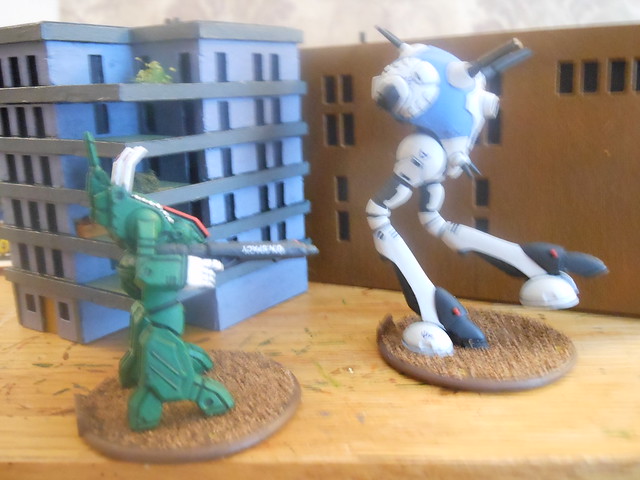

Look behind you!


Tuesday, June 30, 2015

Raising Kain

Or Building a Better Spartan...

I wanted to build the Kain Weller character from Robotech Tactics, a special Spartan Destroid pilot that wields two shock batons, but I also wanted to try out creating a more versatile Spartan using magnets.


This... is... a... Spartan!


Looking at the Spartan sprue, which is designed to build two models, I didn't have enough arm options to include:

1) right arm with GU-11 gun pod
2) right arm with shock baton
3) right arm with empty hand
4) left arm with shock baton
5) left arm with empty hand

In fact, the sprue has plenty of right hands, but only two left and I'd need one for the other model...
I ended up cannibalizing a second sprue, which I already had built two models from with GU-11 gun pods permanently glued to the models.

I still needed a second left hand. 
For this I took one of the "fist" right hands, cut off the thumb and shifted it to the other side of the palm.


Will probably need a little green stuff.

I assembled my arms:


1) right arm with GU-11 gun pod
2) right arm with shock baton

3) right arm empty-handed
4) left arm with shock baton

5) left arm empty-handed


The next step was to magnetize the arms and sockets on the main body so that they are interchangeable.


I mark my target spot to drill.

Dramatic reenactment.

Indent created!

Next thing is to drill the hole.  I have created a "modeling hack" for doing this.  By taking one of the clear plastic tubes that come with the paint brushes I use and then cutting off an amount of it that matches the thickness of the magnets I have, I have an effective stopper which keeps me from drilling too deeply or too shallowly.


Always the right depth for the magnets.


After placing my little tube, I drill away.


Notice the off-center drilling there?  Total rookie move on my part.

Sort of like this...


After I magnetized the parts, I pinned the model to the base.  This model would be more stable with a little help.  For this, I use regular paper clips.


Up the bottom of the base...

...and flush cut off.


Now all the options are available.


GU-11 gun pod


Two empty hands

Shock baton


Kain Weller with two batons


Due to the sprue layout, not all of the Spartans can be so flexible in build, but this one was fun to put together.


Thursday, June 25, 2015

Totally Toob-ular

Wandering around my local Michael's craft store, I noticed they carried toys in tubes (the Toob brand from Safari, Ltd).  In particular, they had some interesting looking trees...


The trees looked about the right size for 6/10mm gaming, so I bought some to check them out.


The trees are made from durable plastic, come pre-painted, have integral bases and each tube has ten unique trees.  They cost about $8-10 for the ten, but with coupons you can get them for much less.  It is a higher cost for trees at this scale, but the combination of variety, out-of-the-box utility and durability of the plastic means that these trees are convenient and should last a long time.  To me, the value is there.


The height is just about right, with the tallest tree coming in at around 3-3.5 inches.


Lurking in ambush.

The integral bases are too small to provide much stability during gaming.  I glued them down to 25mm Litko bases and added some basing material.


Looking spiffy.


The pre-painting is pretty basic, solid colors only.  The trees have decent sculpted detail -- in the future I man put a wash on or dry-brush them.


Unintentional height comparison, the blue and yellow shielded dudes behind the trees are Baccus 6mm Romans.  These are "realistically" sized.


I'm happy enough that I bought huge numbers of them and they will be my primary wooded terrain pieces for years to come.


Wednesday, June 24, 2015

A Quartet of Corners

For your consideration, another of the Burn In Designs buildings.  This one is the "four corner building", a rather nice looking design that can be used as an office building or apartments.

The building is composed of thirteen wooden parts: four walls (two short, two wide), a roof and eight 'corners'.

The four walls have got identical window/door patterns laser-cut out of them.  This wouldn't be noteworthy except that the wider walls have got blank spaces along the edges of them to accommodate the corner pieces, while the shorter walls don't, which makes for an awkward arrangement when putting the building together.

As before, the building was glued together with wood glue.  First the walls, and roof, later on the corner pieces.

You can see in this picture that placement of the corner parts on the short wall will overlap some of the pre-cut windows.  This requires some careful placement in order to avoid partially covered windows (unless you like the half-window look, which isn't bad looking).

A little awkward.


To add a little sazon to the building, I cut some L-shaped strip styrene and glued it to the edge of the roof.  I also added a part of a Phalanx model's arm from my bits box to serve as a HVAC unit.


Keeping cool...


The end result of assembly looks good:


Painting this was the hard part for me.  I just couldn't get the colors I wanted to work the way I wanted them to.  In the end, I left it as is and added the dark paper in the interior.  I may revisit the paint job in the future, but for now it will remain as is.


It looks better in the picture than in real life.


You'll notice that the overlapped windows match the darker paper color.  I painted the overlapped wooden parts in the windows a similar color to the paper, to make it less obvious.


Spartan for size comparison.

Long-side shot.