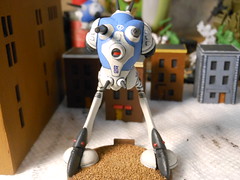
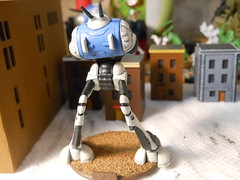
I wanted to build the Kain Weller character from Robotech Tactics, a special Spartan Destroid pilot that wields two shock batons, but I also wanted to try out creating a more versatile Spartan using magnets.
 |
| This... is... a... Spartan! |
Looking at the Spartan sprue, which is designed to build two models, I didn't have enough arm options to include:
1) right arm with GU-11 gun pod
2) right arm with shock baton
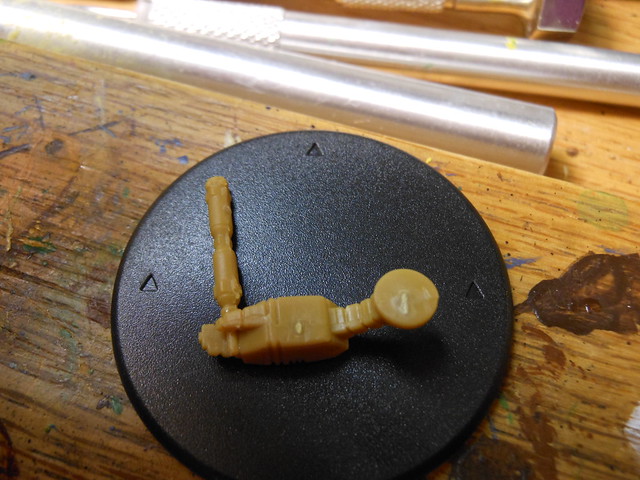
3) right arm with empty hand
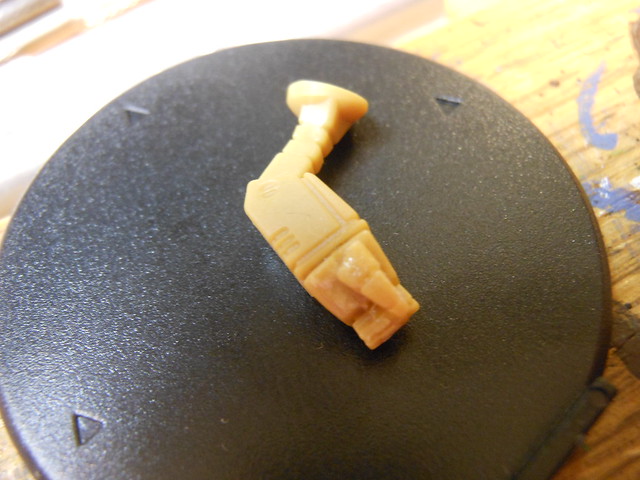
4) left arm with shock baton
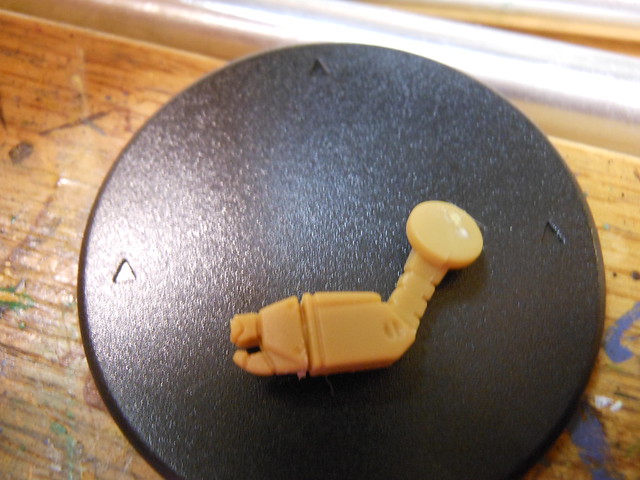
5) left arm with empty hand
In fact, the sprue has plenty of right hands, but only two left and I'd need one for the other model...
I ended up cannibalizing a second sprue, which I already had built two models from with GU-11 gun pods permanently glued to the models.
I still needed a second left hand.
For this I took one of the "fist" right hands, cut off the thumb and shifted it to the other side of the palm.
 |
| Will probably need a little green stuff. |
I assembled my arms:
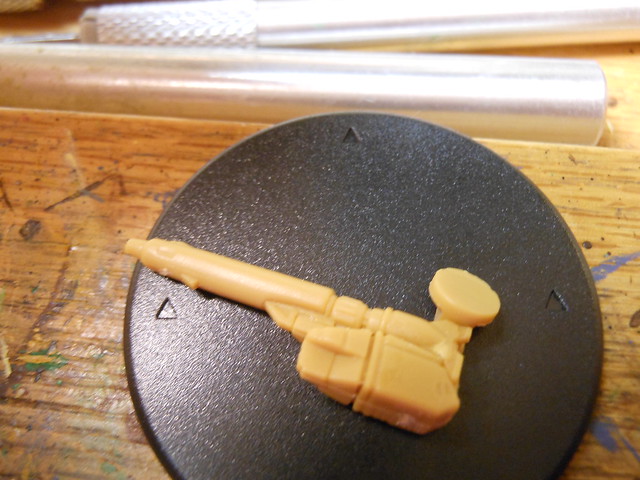 |
| 1) right arm with GU-11 gun pod |
 |
| 2) right arm with shock baton |
 |
| 3) right arm empty-handed |
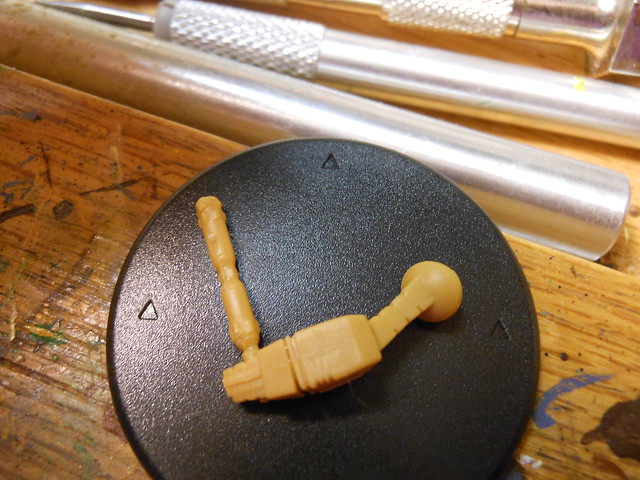 |
| 4) left arm with shock baton |
 |
| 5) left arm empty-handed |
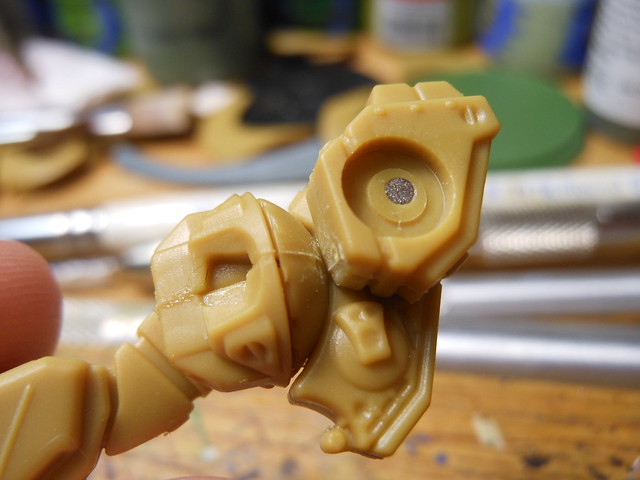
The next step was to magnetize the arms and sockets on the main body so that they are interchangeable.
I mark my target spot to drill.
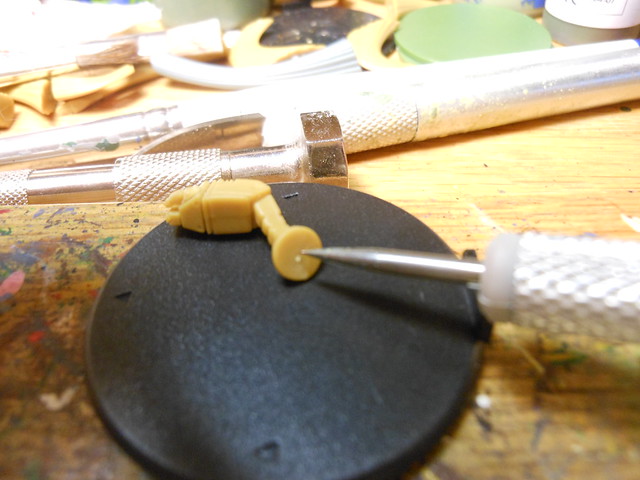 |
| Dramatic reenactment. |
 |
| Indent created! |
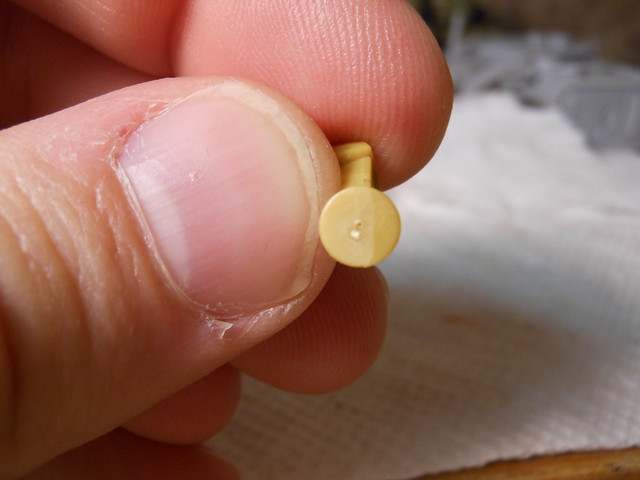
Next thing is to drill the hole. I have created a "modeling hack" for doing this. By taking one of the clear plastic tubes that come with the paint brushes I use and then cutting off an amount of it that matches the thickness of the magnets I have, I have an effective stopper which keeps me from drilling too deeply or too shallowly.
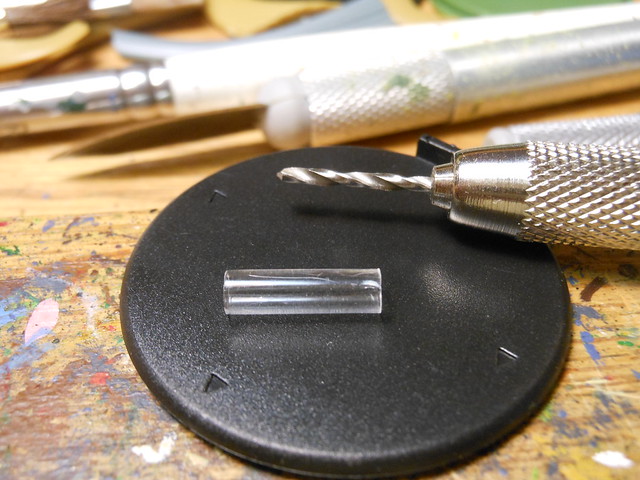
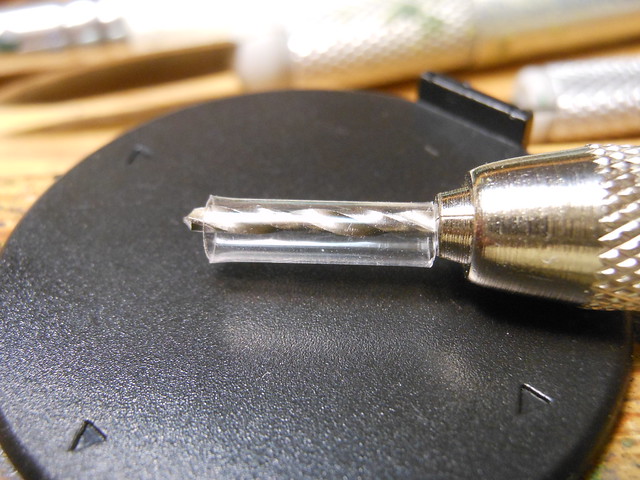 |
| Always the right depth for the magnets. |
After placing my little tube, I drill away.
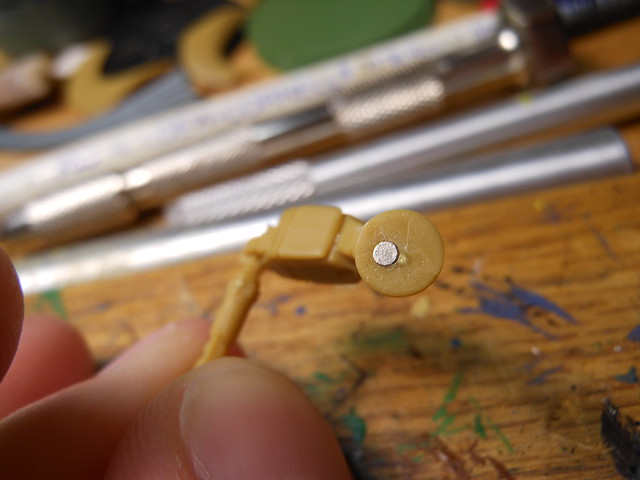 |
| Notice the off-center drilling there? Total rookie move on my part. |
 |
| Sort of like this... |
After I magnetized the parts, I pinned the model to the base. This model would be more stable with a little help. For this, I use regular paper clips.
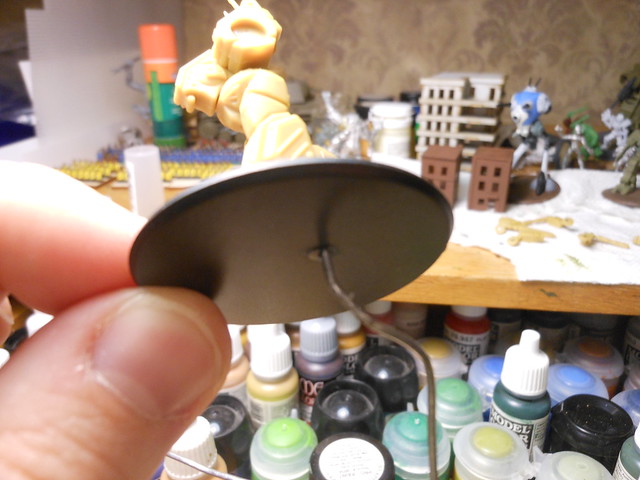 |
| Up the bottom of the base... |
 |
| ...and flush cut off. |
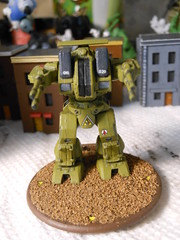
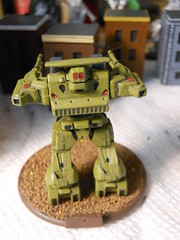
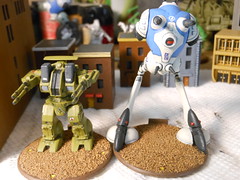
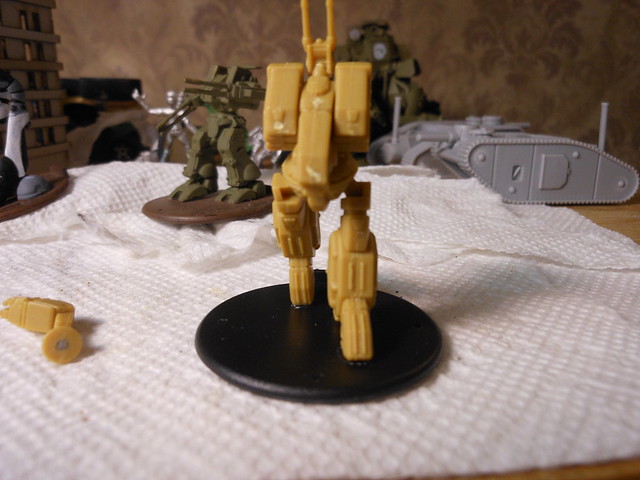
Now all the options are available.
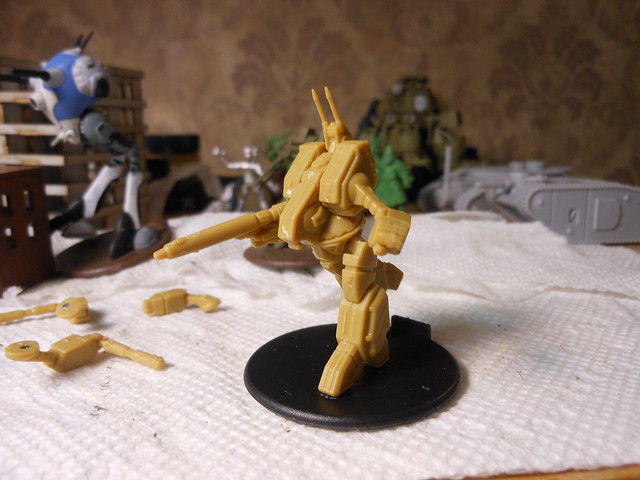 |
| GU-11 gun pod |
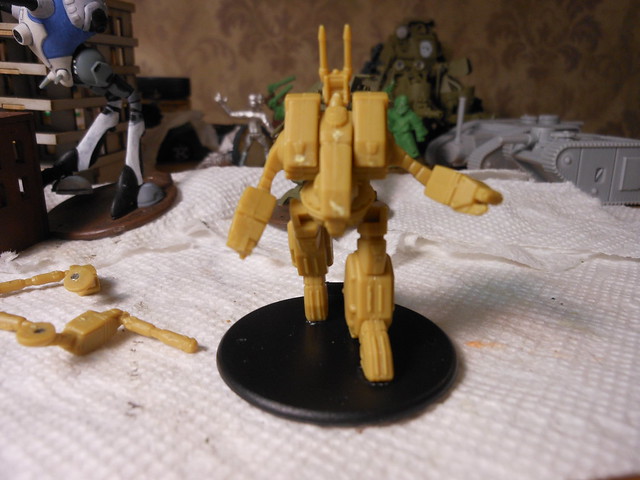 |
| Two empty hands |
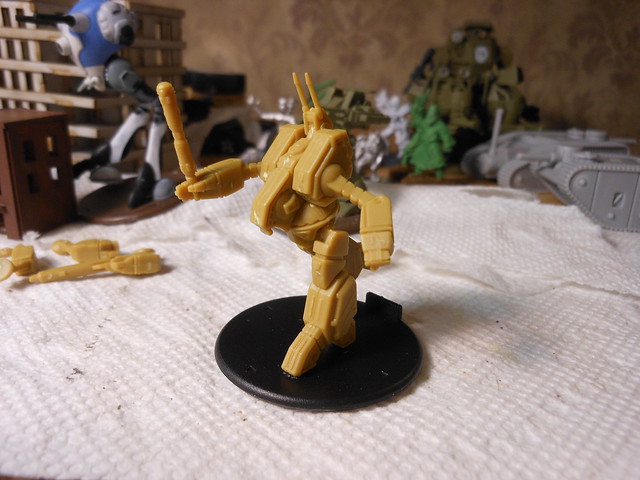 |
| Shock baton |
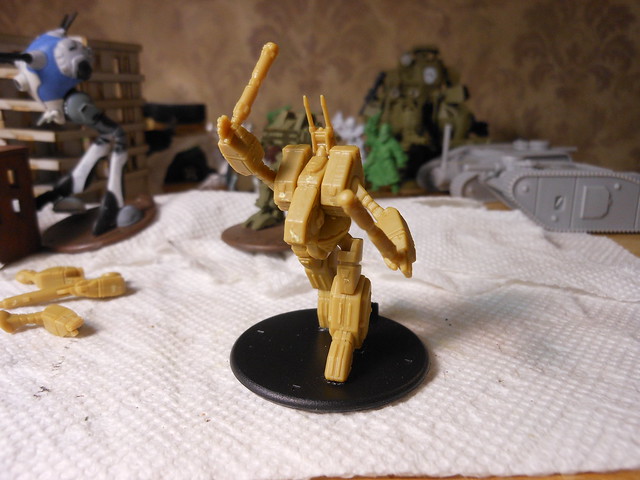 |
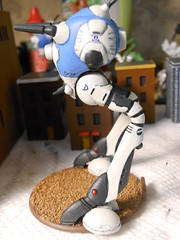
| Kain Weller with two batons |
Due to the sprue layout, not all of the Spartans can be so flexible in build, but this one was fun to put together.